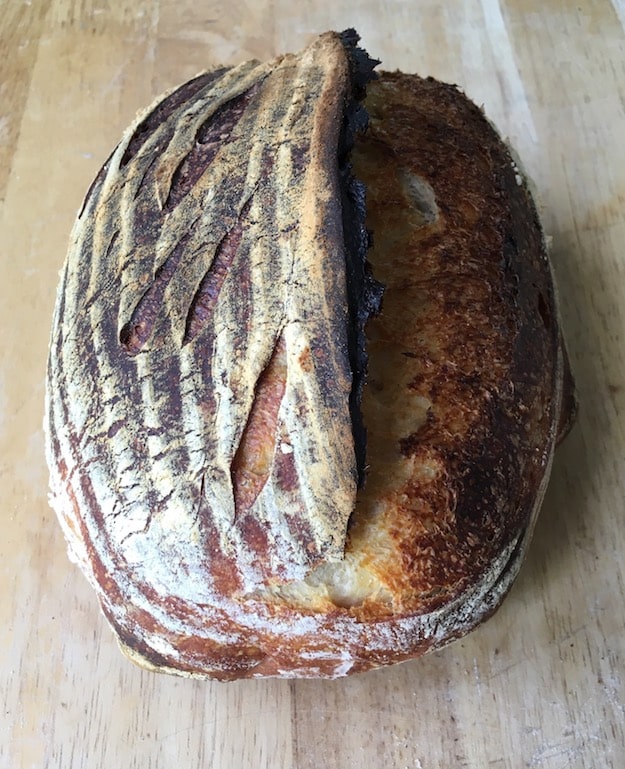
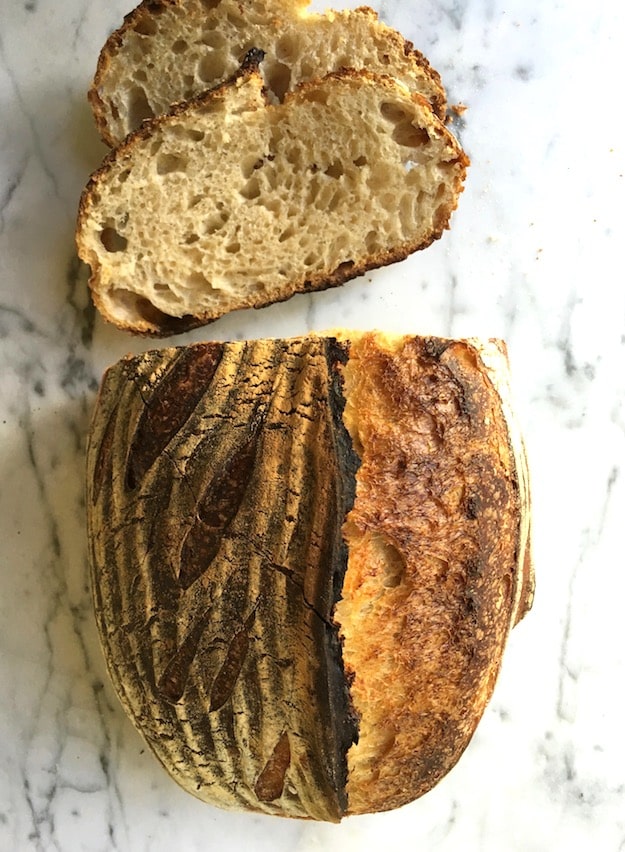
Sourdough bread is all the rage right now, and rightfully so. Display cases of artisanal bakeries are loaded with deep caramel-hued loaves, the surfaces beautifully scored with signature designs and gently dusted with flour like winter’s first snow fall. While it may seem like a trend, both professional and home bakers alike are reaching back to one of the earliest and natural forms of bread baking. If you'd like to learn how to make sourdough starter, this primer will take you through the steps.
A sourdough starter, or “culture,” is the key to creating authentic sourdough bread. This culture, once thriving and well developed, is the natural yeast that not only encourages your sourdough bread to rise, but adds a nuanced element of flavor. It’s easier on your digestion system than bread made without it, and is loaded with gut-friendly bacteria.
If you’re gingerly taking your first steps into the sourdough bread baking world, it may seem overwhelming — and honestly, a little complicated. But it doesn’t need to be, once you’re familiar with the step-by-step process.
To begin your sourdough bread baking journey, you’ll first need to develop a starter. Developing this culture requires two simple ingredients — flour and water (and a little bit of time). Here’s the lowdown on everything you need to get started:
- Flour: Whole wheat. Bread flour can work too. Basically you want a grain-based flour, made
from a hard red winter wheat. King Arthur’s whole wheat flour or Bob’s Red Mill whole wheat are great store-bought options if you can’t source flour locally. - Water: Filtered, always!
- Jar: 16-ounce wide mouth Ball jar, or Weck, with lid
- Time + Patience
You’ll also want a spoon (any kind, wooden or metal), and a scale. We like Baker’s Math Kitchen Scale. Don’t be intimidated by the scale. It’s a useful tool to invest in regardless of whether you plan to start sourdough bread baking, or if you enjoy baking in general.
Next, use the scale to weigh out:
- 113 grams filtered lukewarm water
- 113 grams whole wheat flour
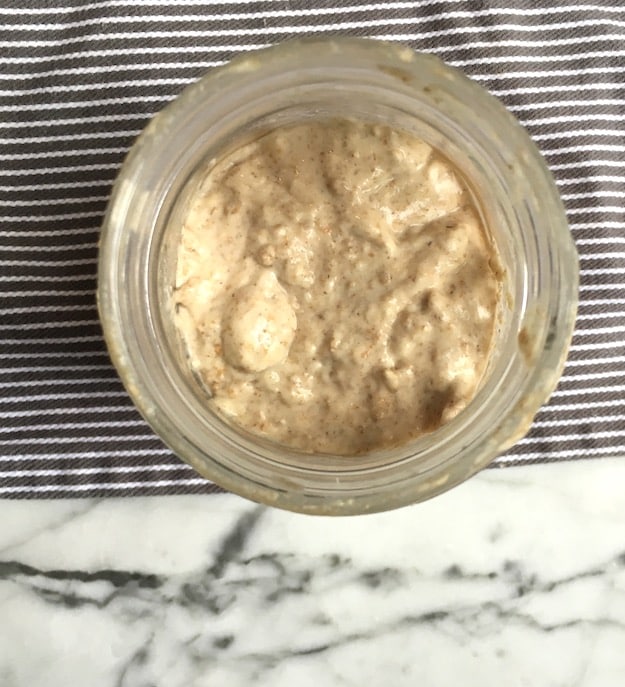
Mix these together in the glass jar, until there are no dry spots remaining, and loosely cover with the lid. Leave the jar in a room that hovers around 70 to 75 degrees. Usually the kitchen counter is a fine spot.
If your kitchen hovers below the recommended temperature, you can keep the mixture in an oven, with the light on (but remember it’s in there!). On the other hand, in the summer when it's warmer the best solution really is to just be mindful that the fermentation process will be a little more accelerated. And the opposite for cooler kitchens: it’ll just take a little longer. Kitchen temp isn’t a hard or fast rule, you just work with what you got and it’ll be okay. But assuming you're at the optimal temperature, now we wait 4 days.
Over the course of the next four days, take a peek at your starter once a day, familiarizing yourself with its slow but steady fermentation process. Take a whiff, taking note of the tangy change in scent as the days go by.
On day 4, you’re ready for the next step, giving your fermentation baby its first “feed.” Using the scale, pour out all but 28 grams of the starter, and refresh it with 113 grams filtered water and 113 grams whole wheat flour. Pick a time of day that you are comfortable loosely committing to, as you will be “feeding” your starter just like this at around the same time daily from here on out.
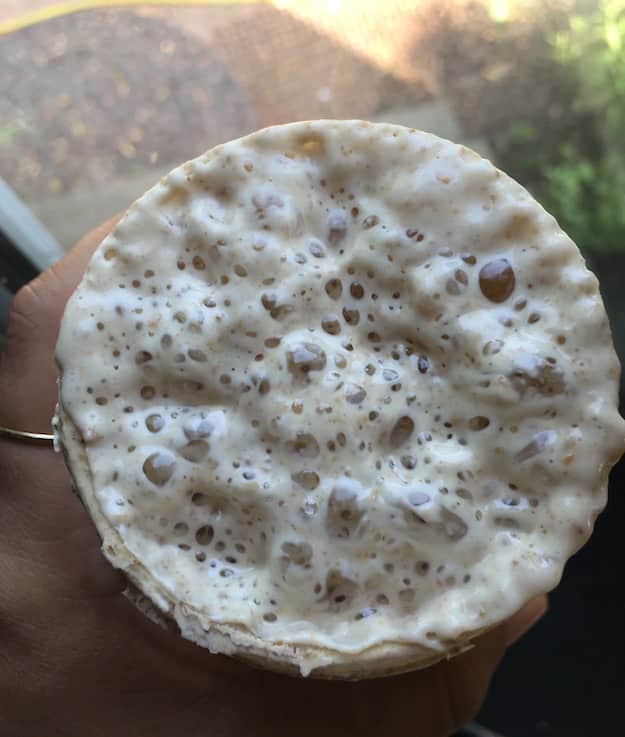
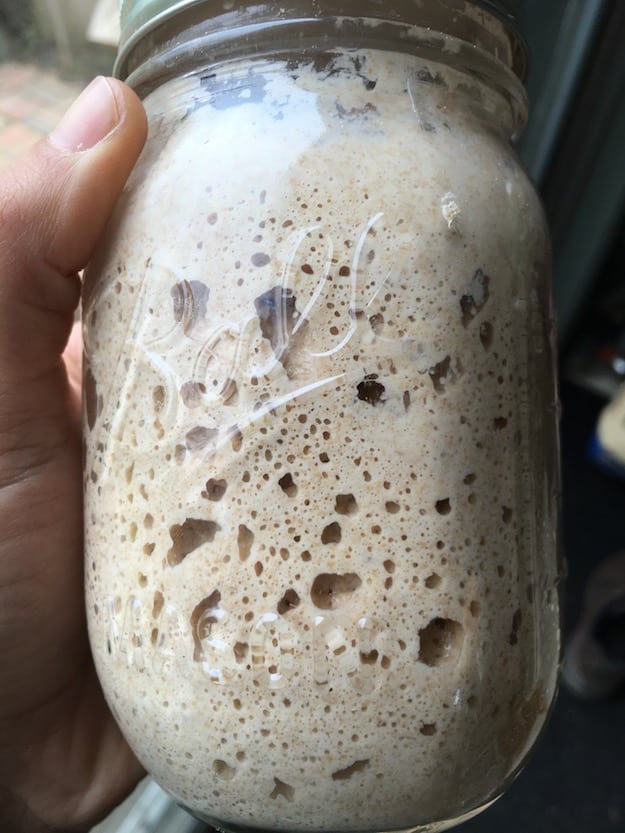
After at least four refreshes, or “feeds,” your starter is ready to be used for baking. At it’s peak activity, the culture will have doubled in size and have a domed top, like a mushroom cap. You’ll see happy gas bubbles through the sides of the jar; the more the merrier! This means your starter is well-fed and most likely ready to be used.
To test its readiness, dampen your fingers and scoop out about a tablespoon size of the starter, (being careful not to degas it) and gently lower it into a small bowl or glass filled with water. If it floats, it’s ready. If it sinks, the culture hasn’t developed long enough or you let it go too long and it’s on its way back down.
If you think it’s too early, just let the starter sit another few hours, being mindful and checking it occasionally so as not to miss its peak. If you think you missed the peak altogether and it’s on its way back down, having devoured all the water and flour you fed it, simply refresh the starter and try again.
The time in which it takes for your starter to hit its peak activity will vary depending on the season and temperature of the room; in summer, you’ll notice your starter developing a lot faster than in the chill of winter. But as you’re getting started with this whole process, generally your starter will begin to reach its peak activity 6 hours after you’ve fed it. You’ll start to get a feel for your individual starter as time goes on.
You are now a member of the sourdough bread baking world! Welcome.
If you don’t plan on frequently baking, or plan on taking a trip and can’t commit to feeding your starter everyday, retard the starter by placing it in the fridge; this slows down the fermentation process. Be aware that it may develop a liquid-y, vinegar-y, brownish layer on top of the culture, referred to by bakers as the “hooch.” Simply pour this off before refreshing your starter again.
If you’ve tucked your starter in the fridge and plan to bake, remove the starter and give it at least 3 feeds before baking with to give it proper time to develop strength and vigor.
The beauty in sourdough starters is that they are incredibly forgiving; they don’t pass judgment if you’ve neglected them. They’ll spring back after a few feeds, as if nothing ever happened. To get you started on the path to sourdough bread baking, below are some great resources that provide wonderful recipes:
Web:
Books:
*This post contains affiliate links. If the product is purchased by linking through, VegKitchen receives a modest commission, which helps maintain our site and helps it to continue growing!





Susan Wright says
what temperature and how long do we bake it?
Nava says
Susan, this post is just about how to make the starter. There are links to bread recipes at the end of the post (which will take you to other sites). I hope you find them helpful!
Susan Wright says
please tell me how long to bake it and at what temperature, Please