This quick and easy vegan peanut butter dip is perfect for dipping fresh apples, veggies, or spreading on toast or crackers. And it's ready in just 5 minutes!
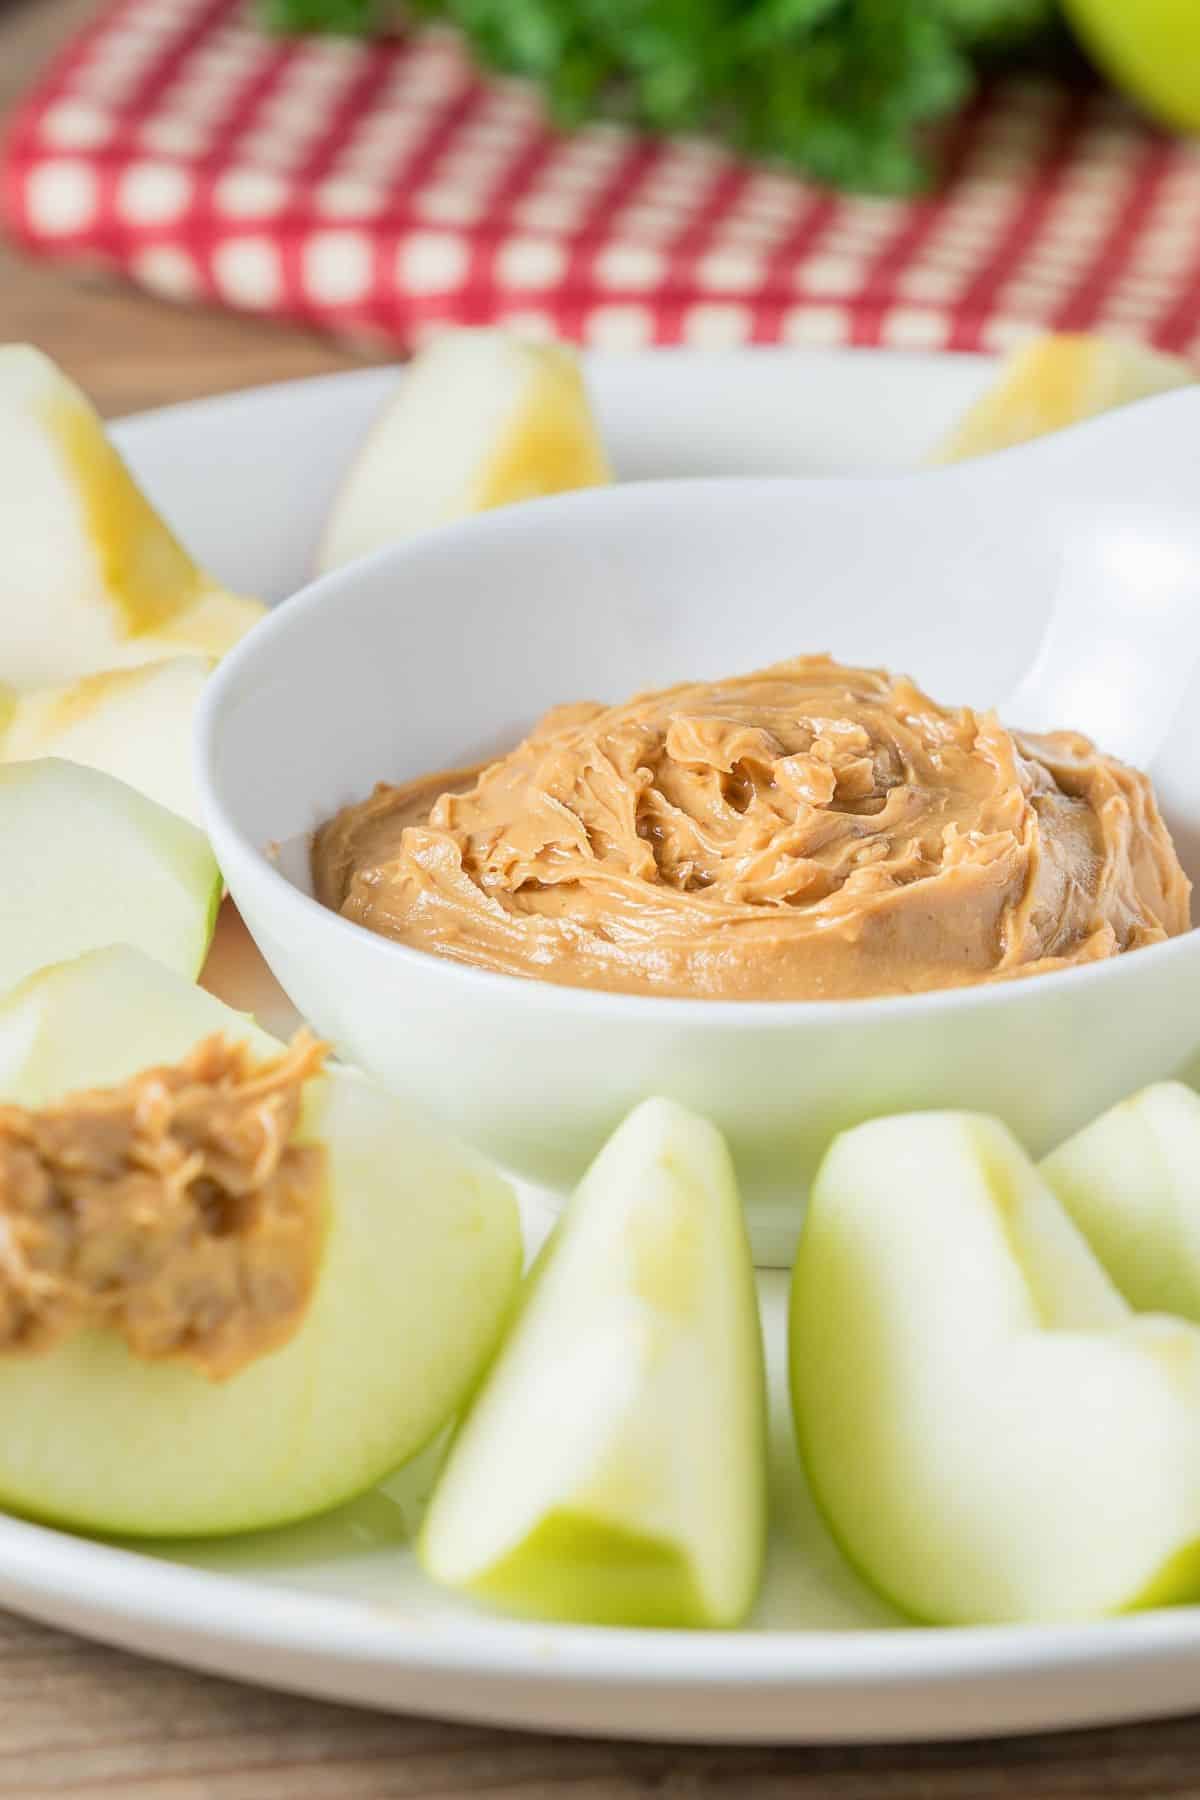
I whipped this up one afternoon as a quick snack one afternoon when I was craving something a bit sweet. And it's turned out to be one of my new favorite vegan snack!
How to Serve Peanut Butter Dip
I served this vegan peanut butter dip in so many ways, but my favorites are:
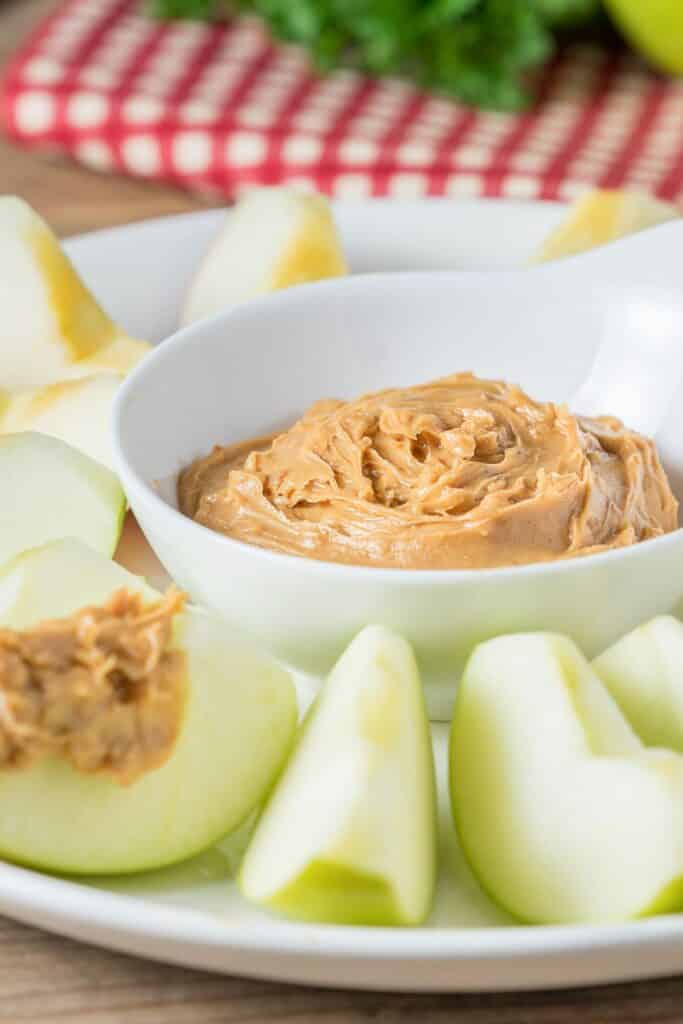
- As a dipping sauce for fresh apple slices.
- As a topping for celery sticks.
- Spread on a slice of whole wheat toast for breakfast.
This could even make a great lunch served on a slice of toast alongside a delicious and healthy green smoothie.
Variations
Any nut butter can replace the peanut butter in this dip - try cashew butter or almond butter for a creamy alternative.
This dip does not need to be measured exactly, just throw the ingredients in your blender and blend away. If you need a bit more nondairy milk to get it to blend, add some. If you need more maple syrup or another date to sweeten it, add it. Experiment! It really is hard to mess up this mixture of ingredients. They just go together and come out great.
This is also a great way to incorporate flax seed into your diet. Flax is high in Omega-3 essential fatty acids which are good fats shown to have heart healthy effects. Flax is also high in fiber. In order to absorb these nutrients, the seed must be broken apart in a blender or grinder.
More Vegan Recipes
If you love this vegan peanut butter dip, be sure to check out our other vegan snack ideas or these reader favorites:
Recipe
Easy Vegan Peanut Butter Dip
Equipment
- Blender or food processor
Ingredients
- ½ cup peanut butter
- ¼ cup almond milk or other nondairy milk
- ¼ cup maple syrup or 2-3 Medjool dates
- ½ banana
- 1 tbsp ground flaxseed
- apple slices, fresh veggies, or toast for serving
Instructions
- Blend all ingredients in blender until smooth.
- Add more nondairy milk if needed and scrape down sides.
- Serve with apple slices or on toast.
Nutrition
Images via Canva Pro.




Comments
No Comments