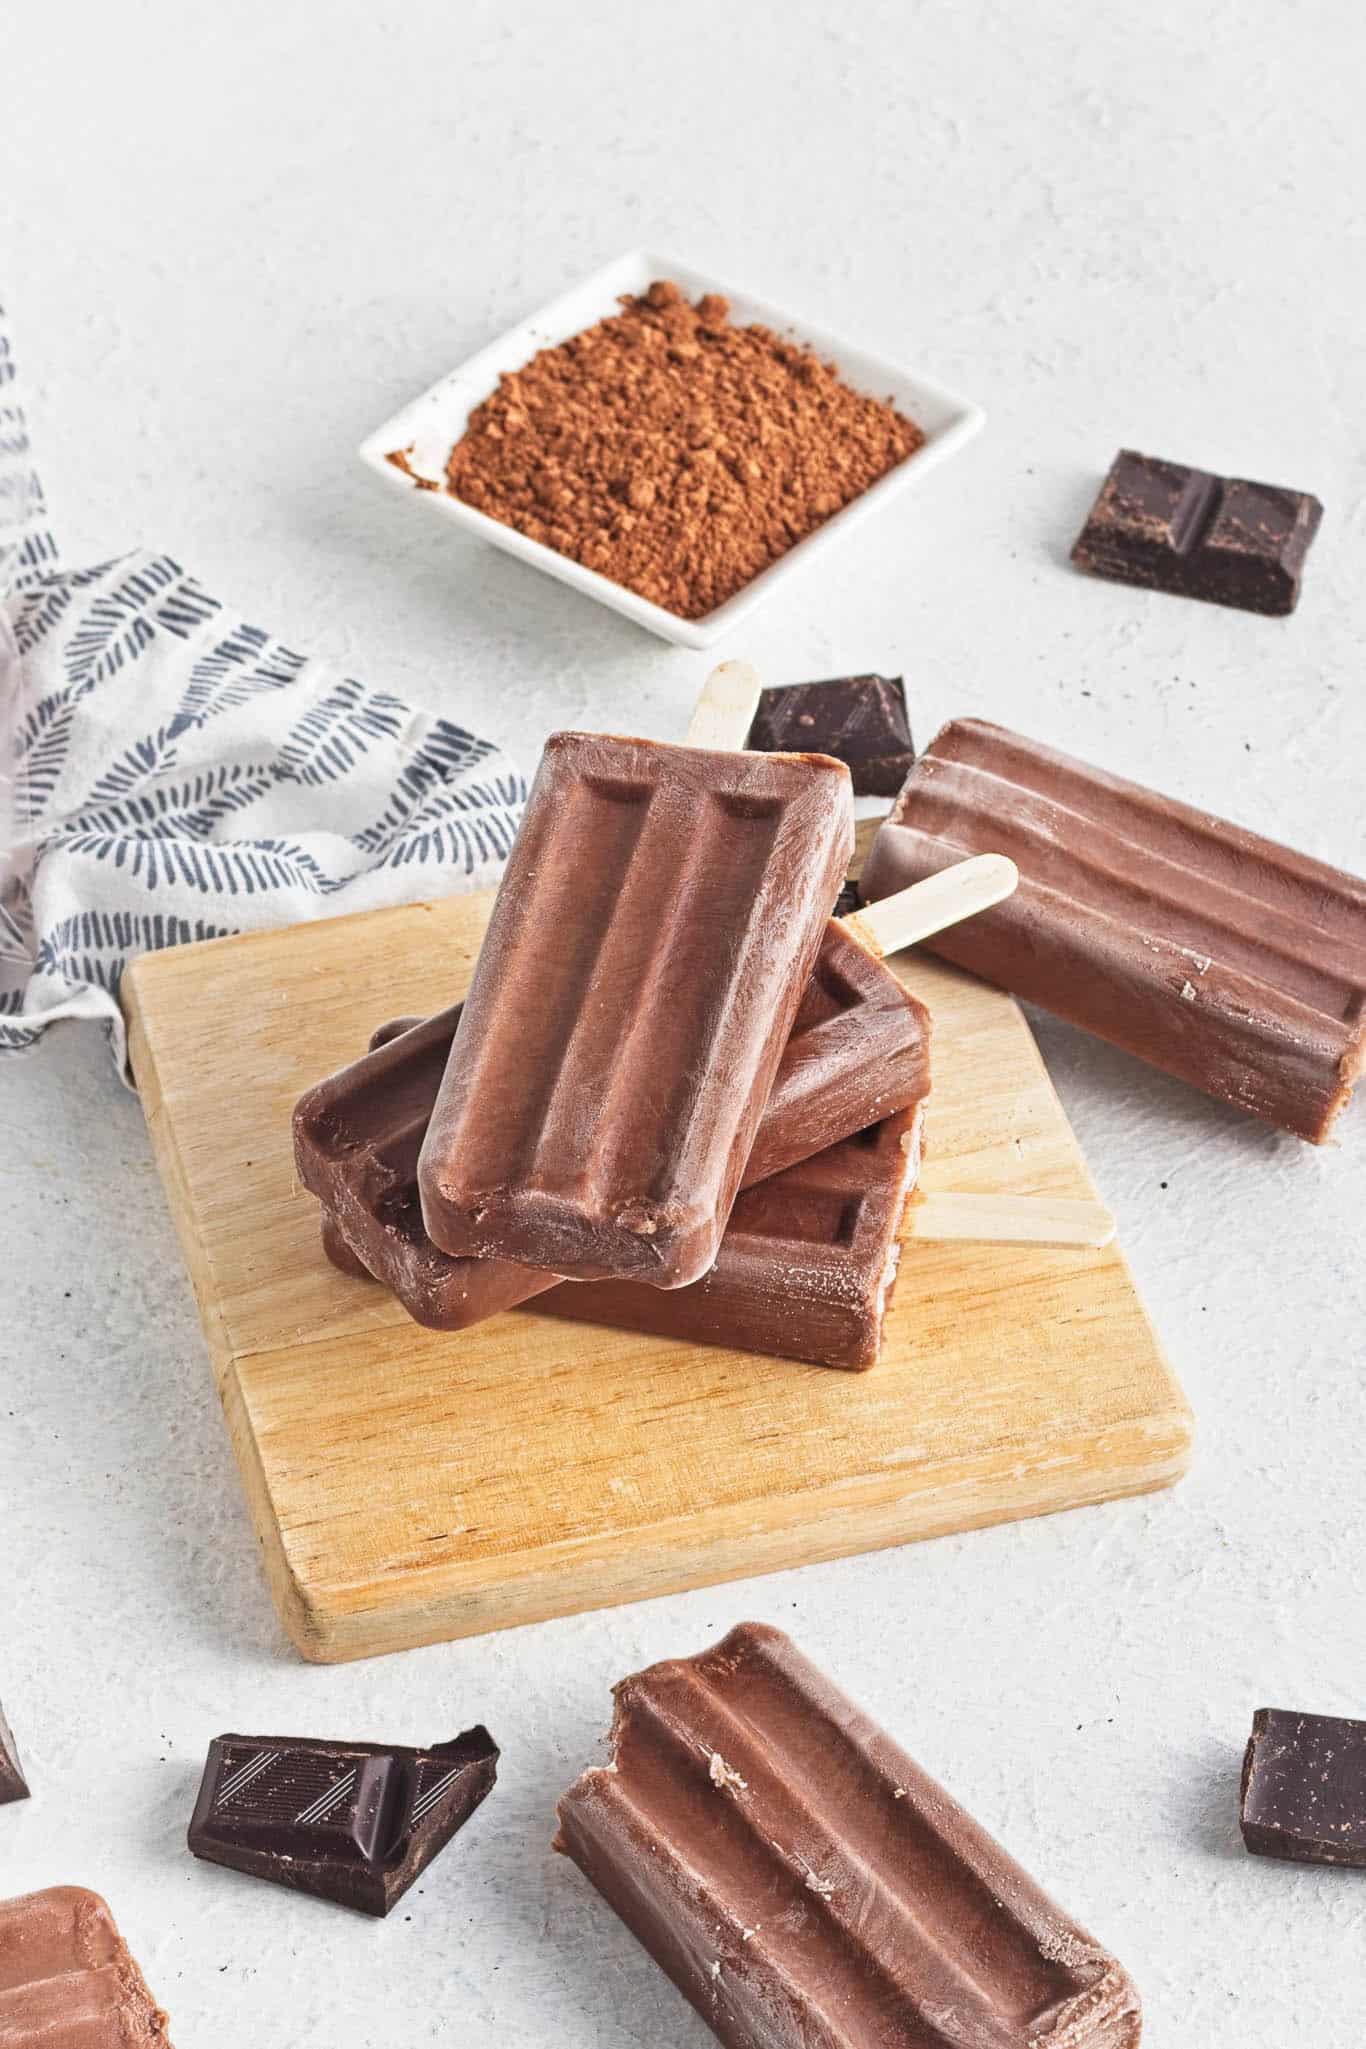
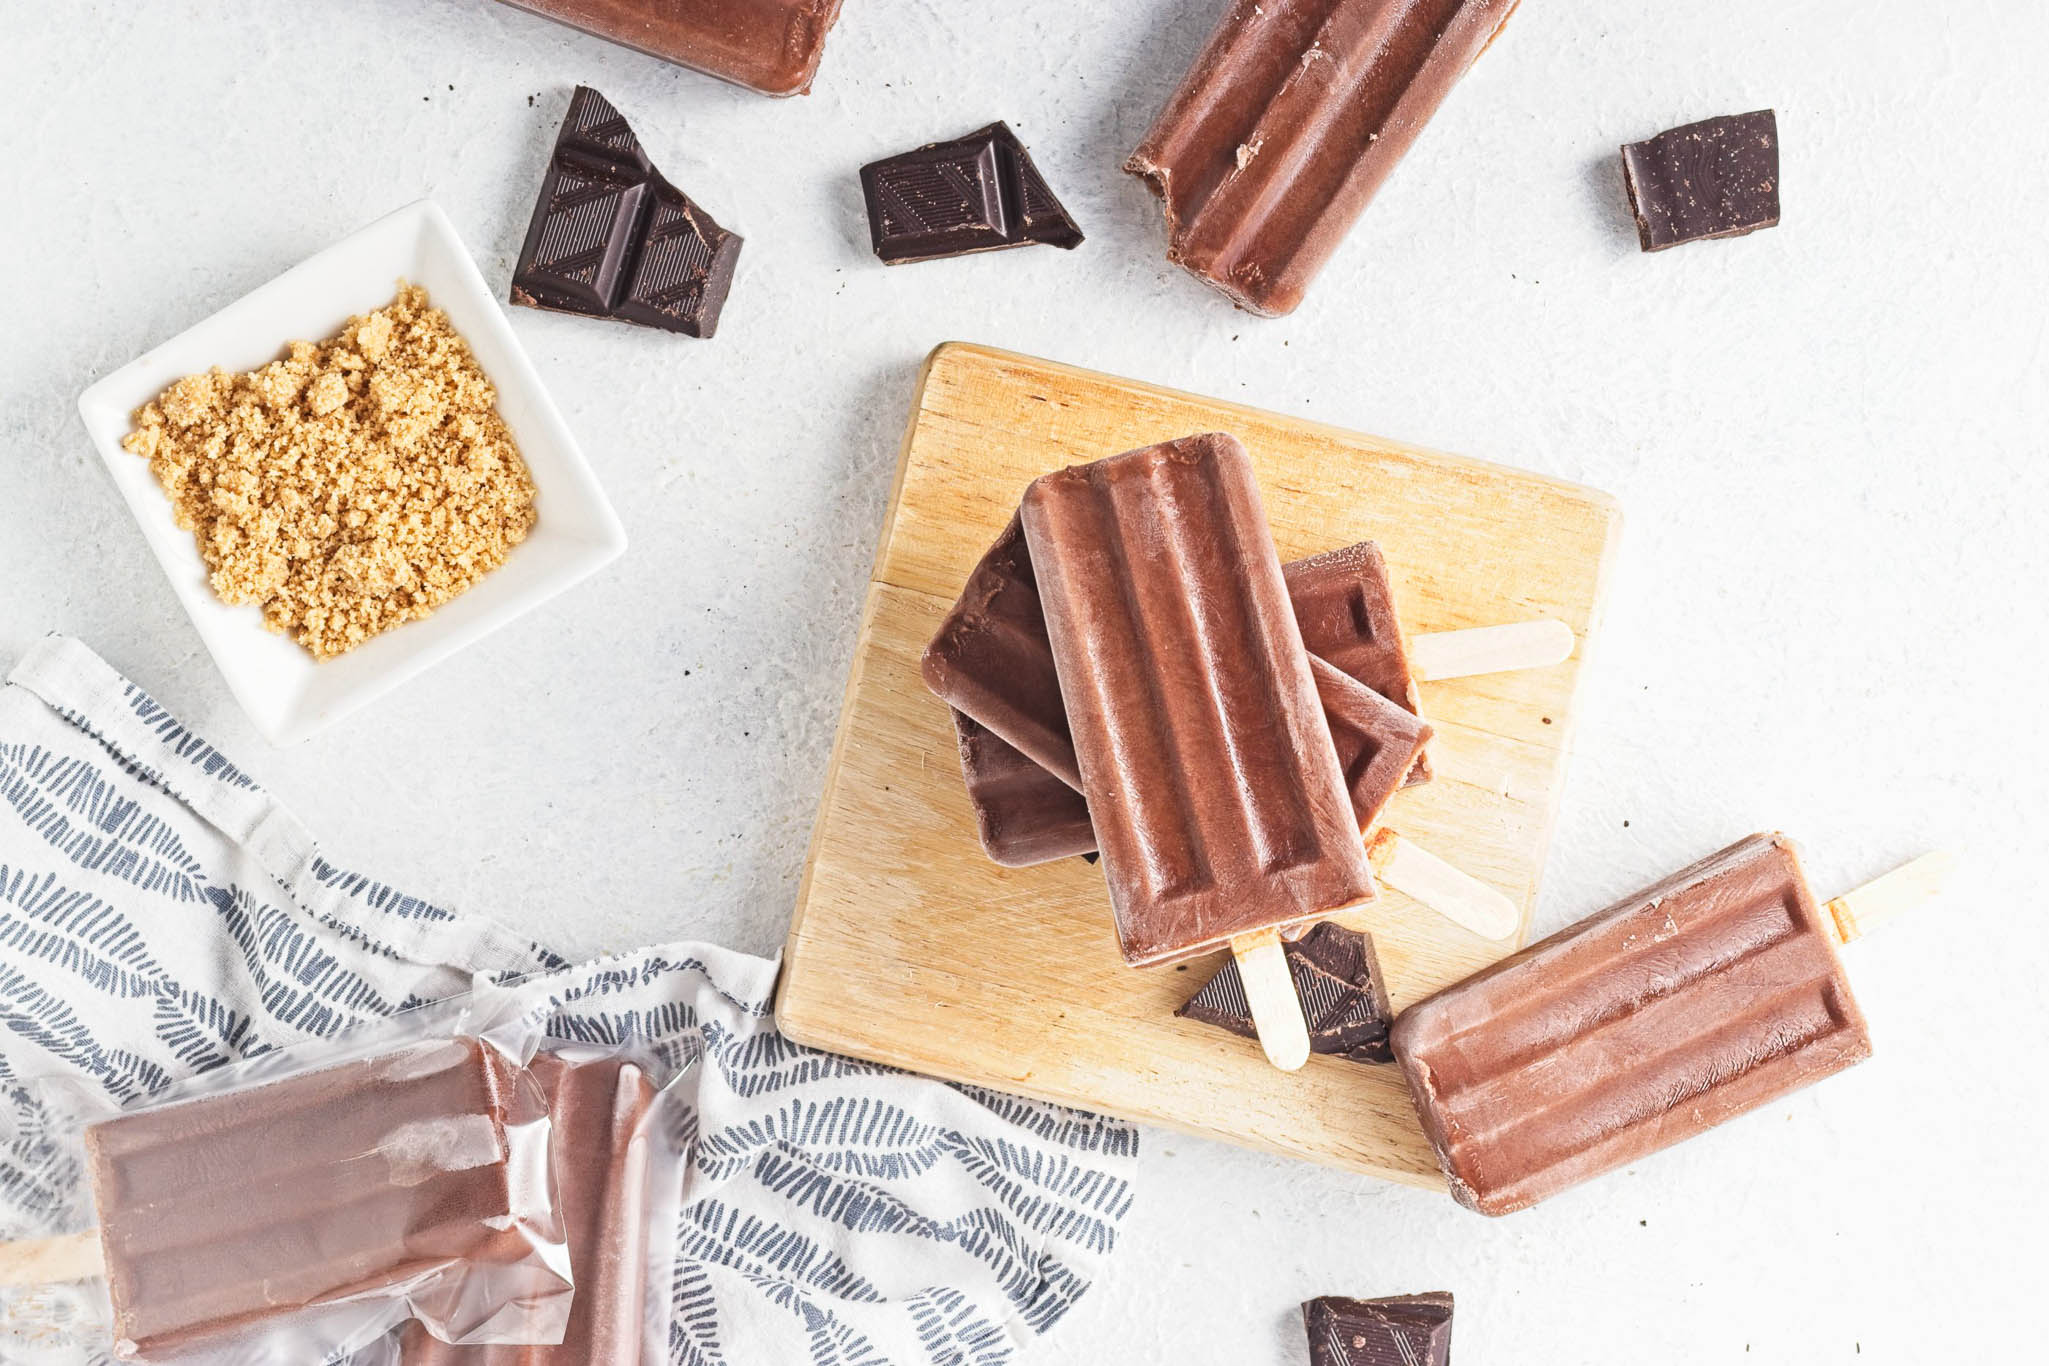
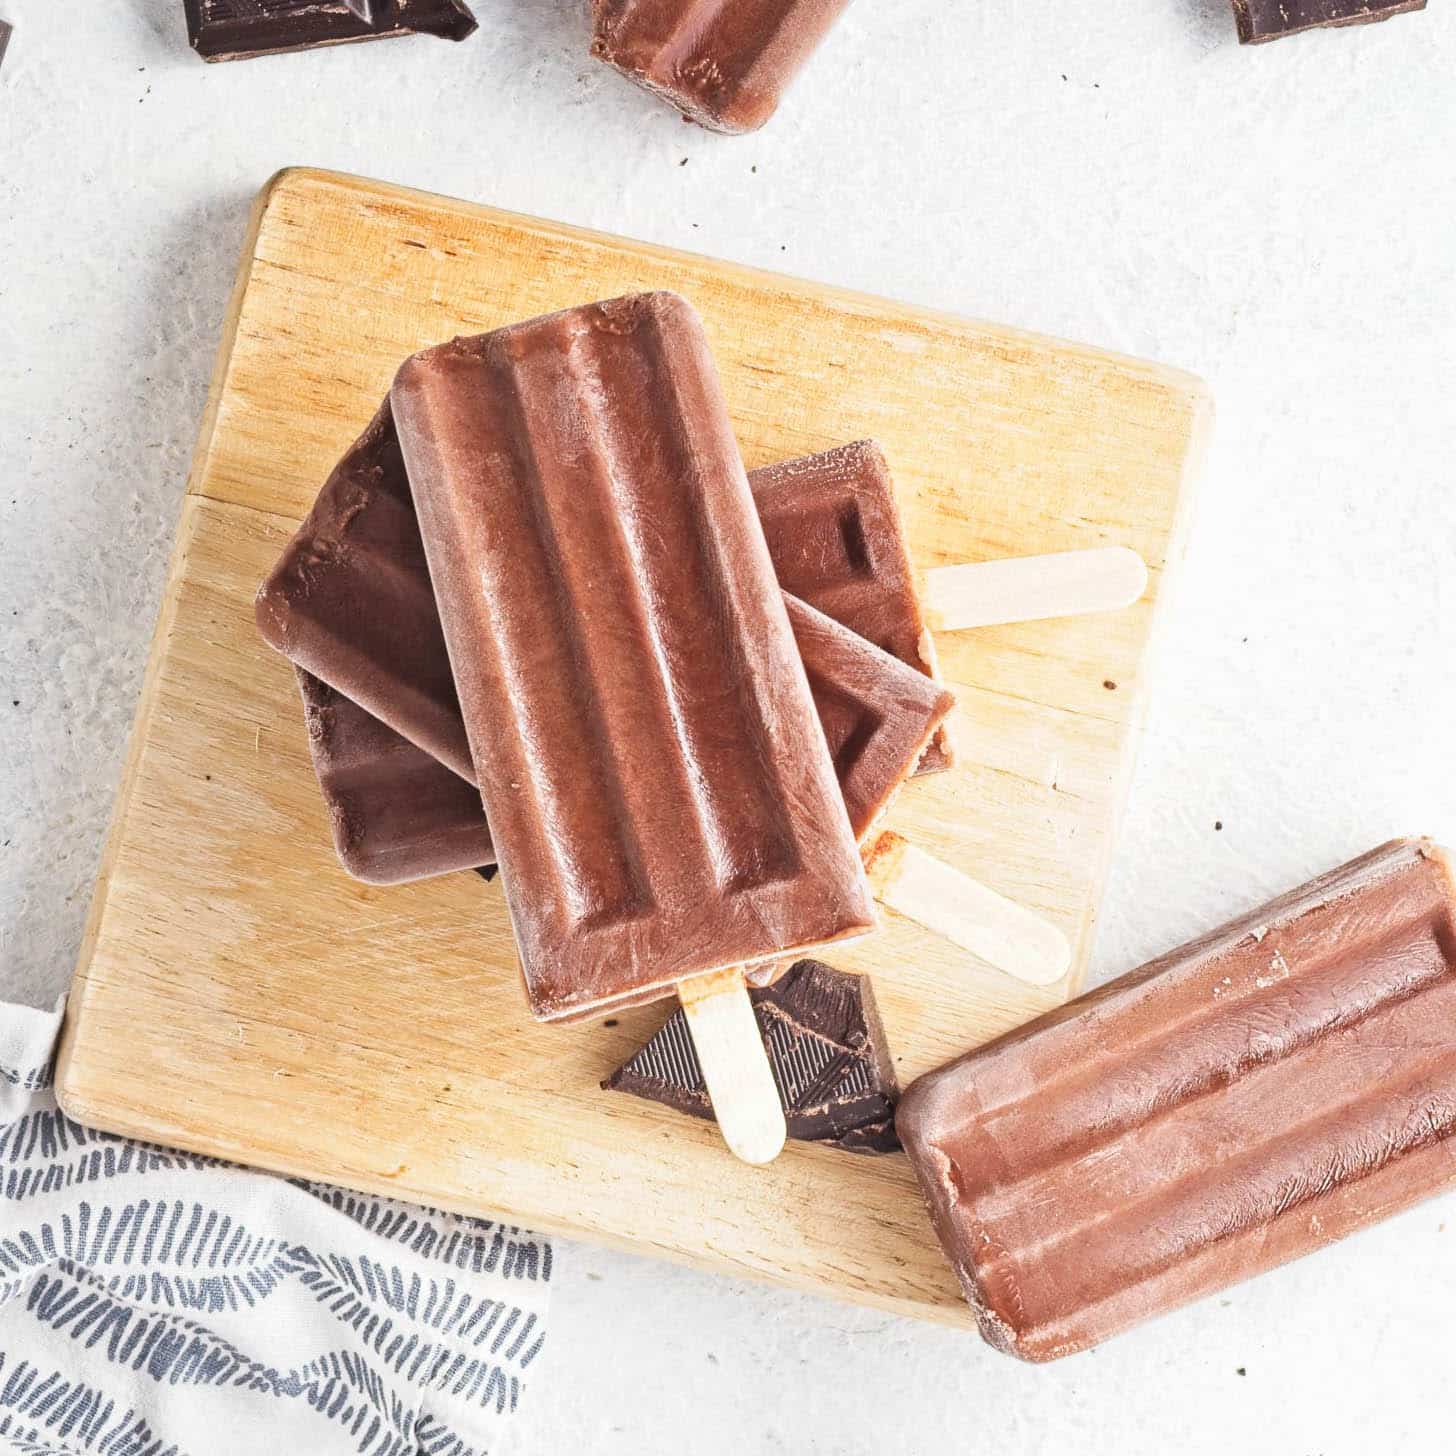
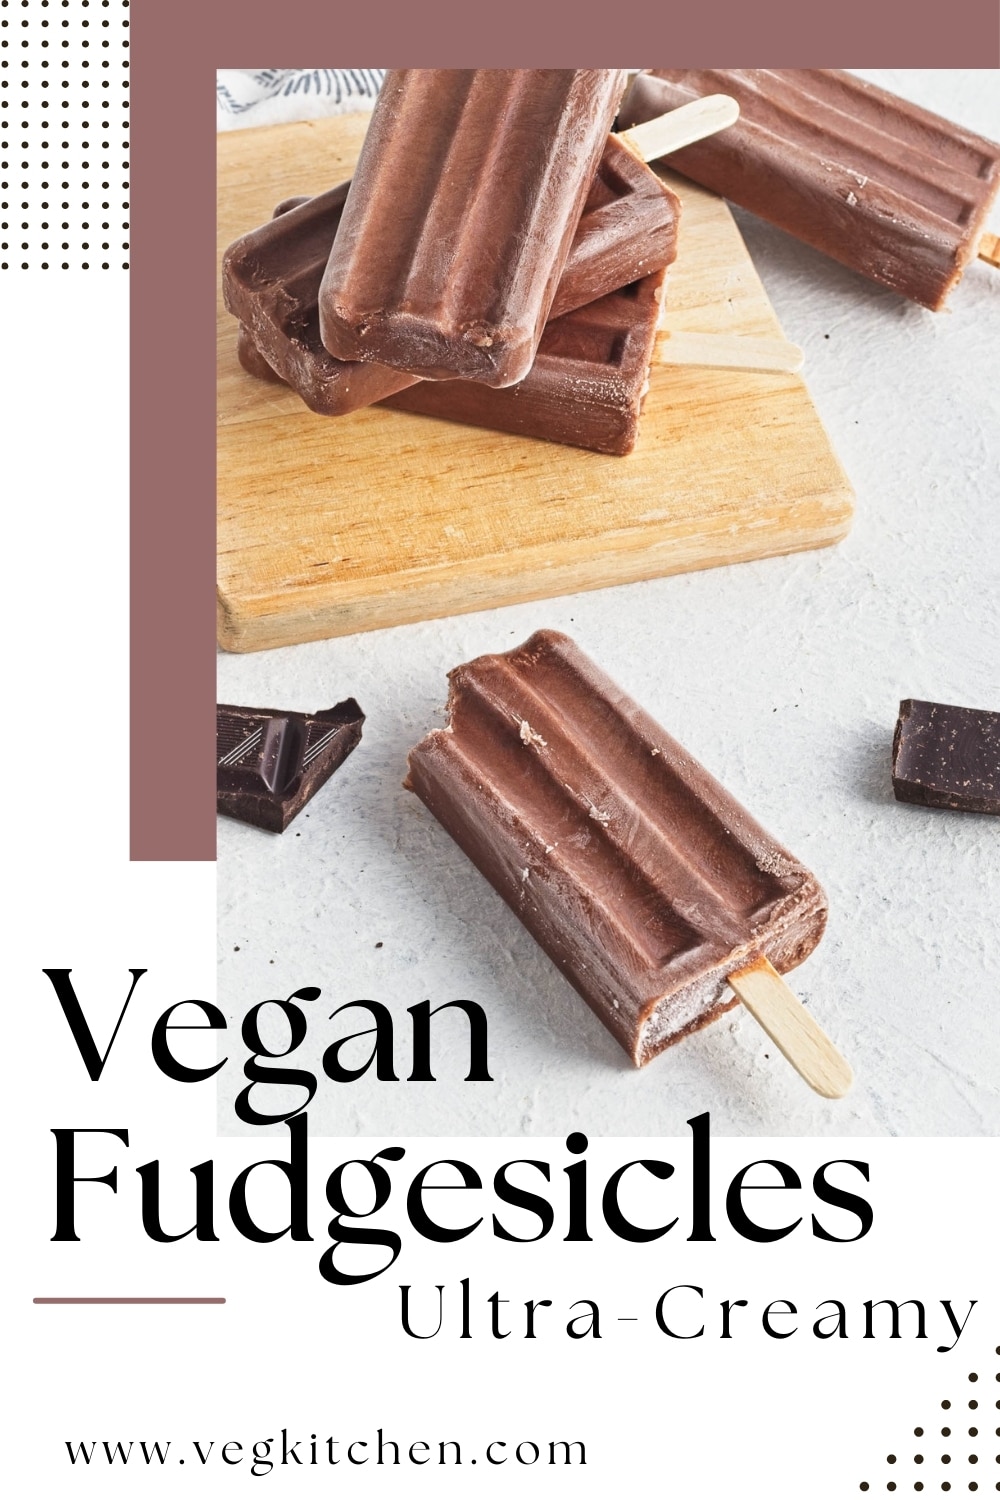
When it comes to frozen treats, few things beat a classic fudgesicle. These Vegan Fudgesicles are rich, creamy, and loaded with chocolate flavor—everything you love about the original, but completely vegan.
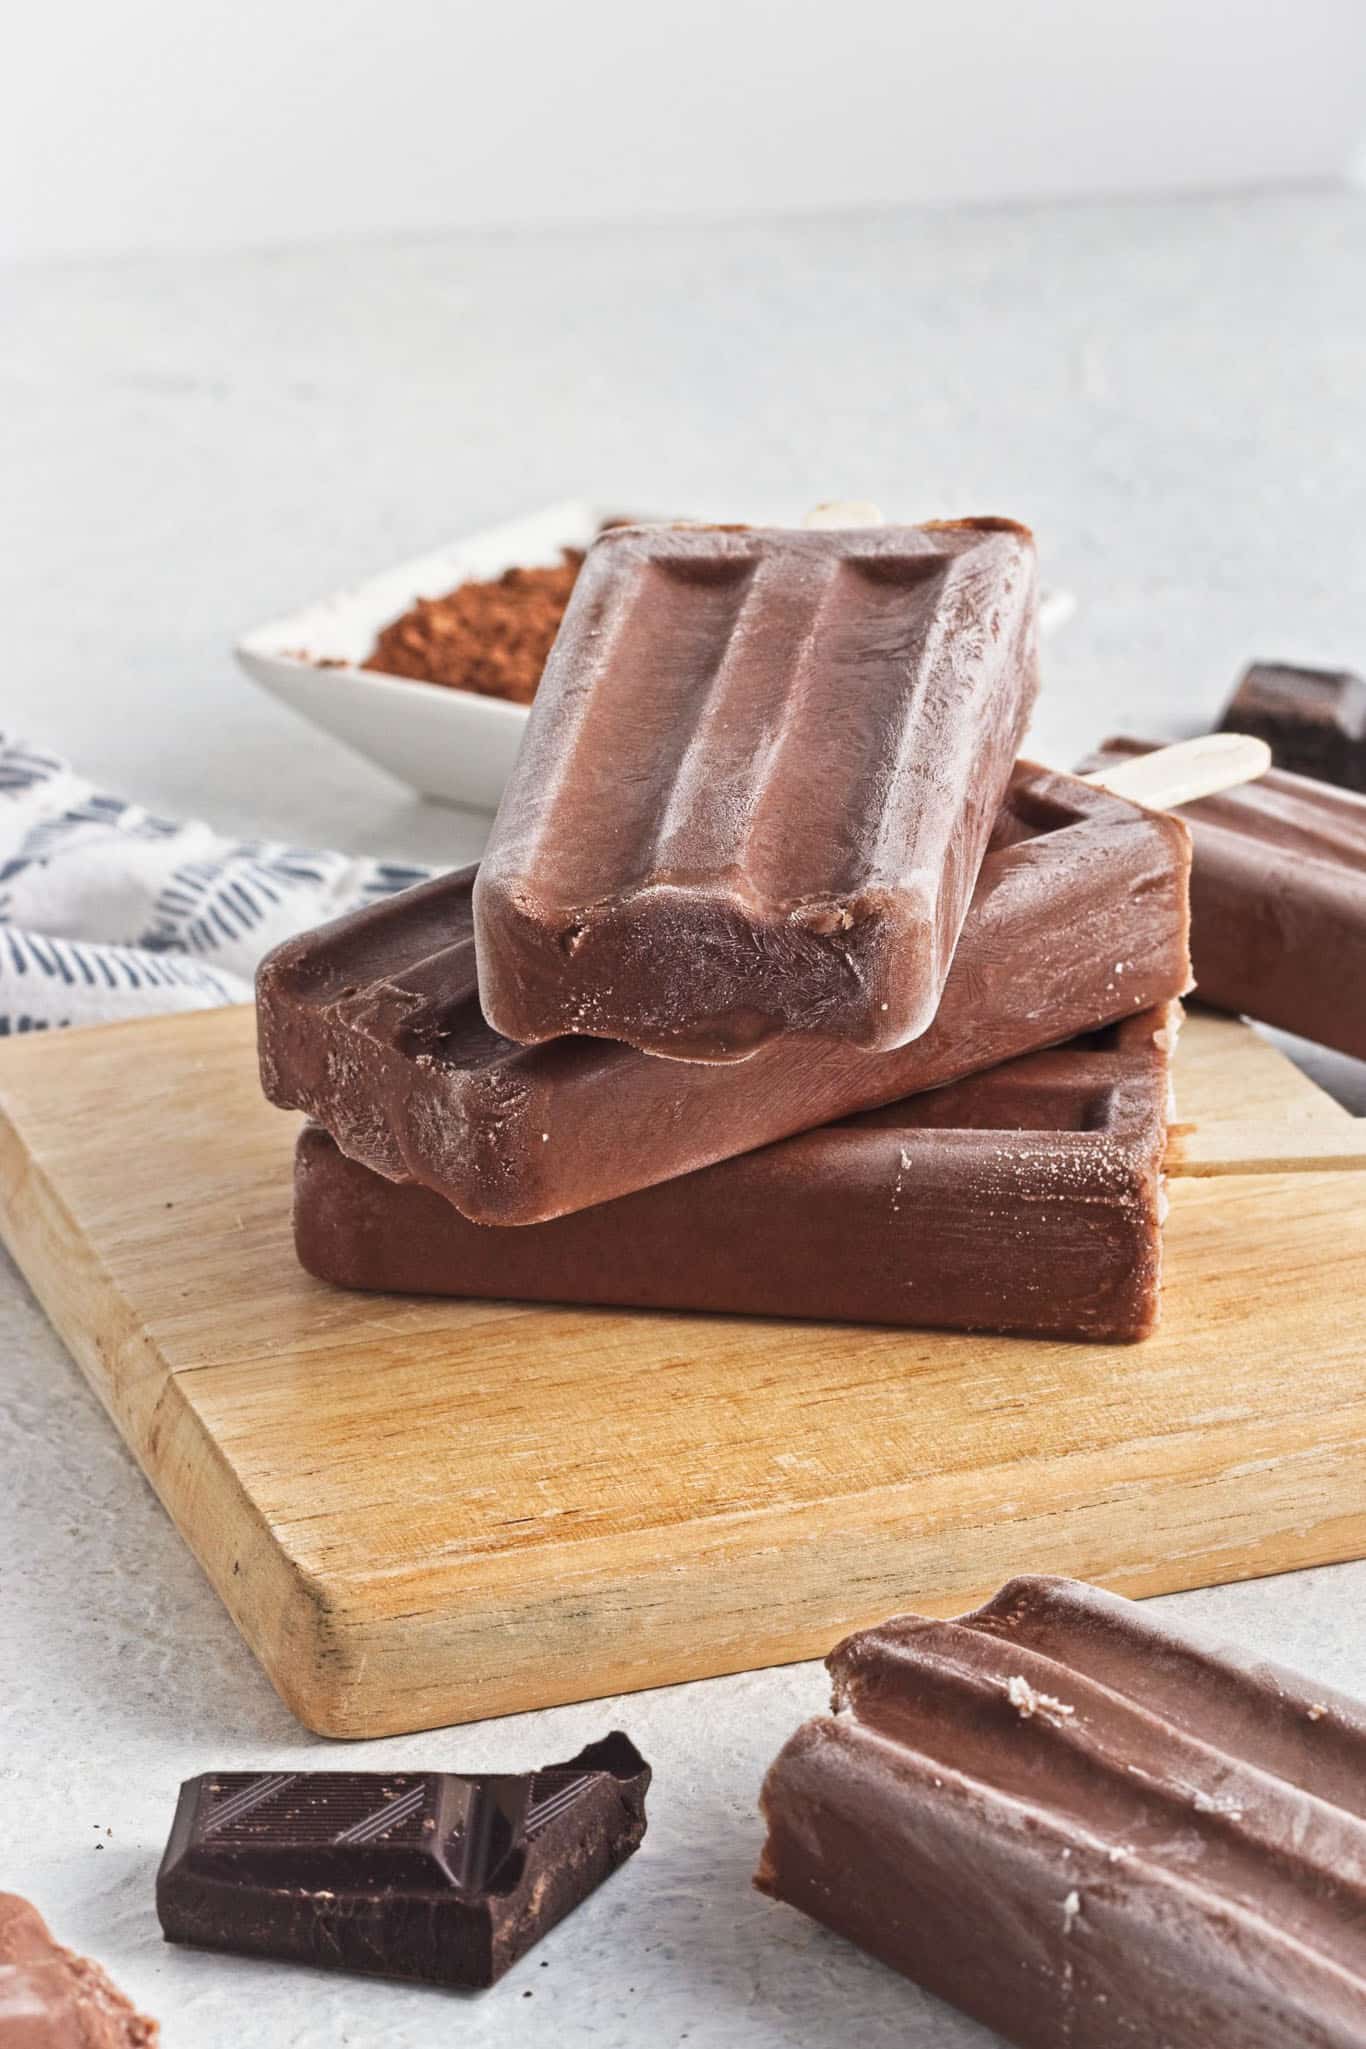
These fudgesicles aren’t just good - they’re ridiculously good. With simple ingredients like coconut milk, cocoa powder, and dark chocolate, they’re easy to make and even easier to enjoy.
Whether you’re a chocolate fanatic or just looking for a refreshing treat, these fudgesicles deliver in every way.
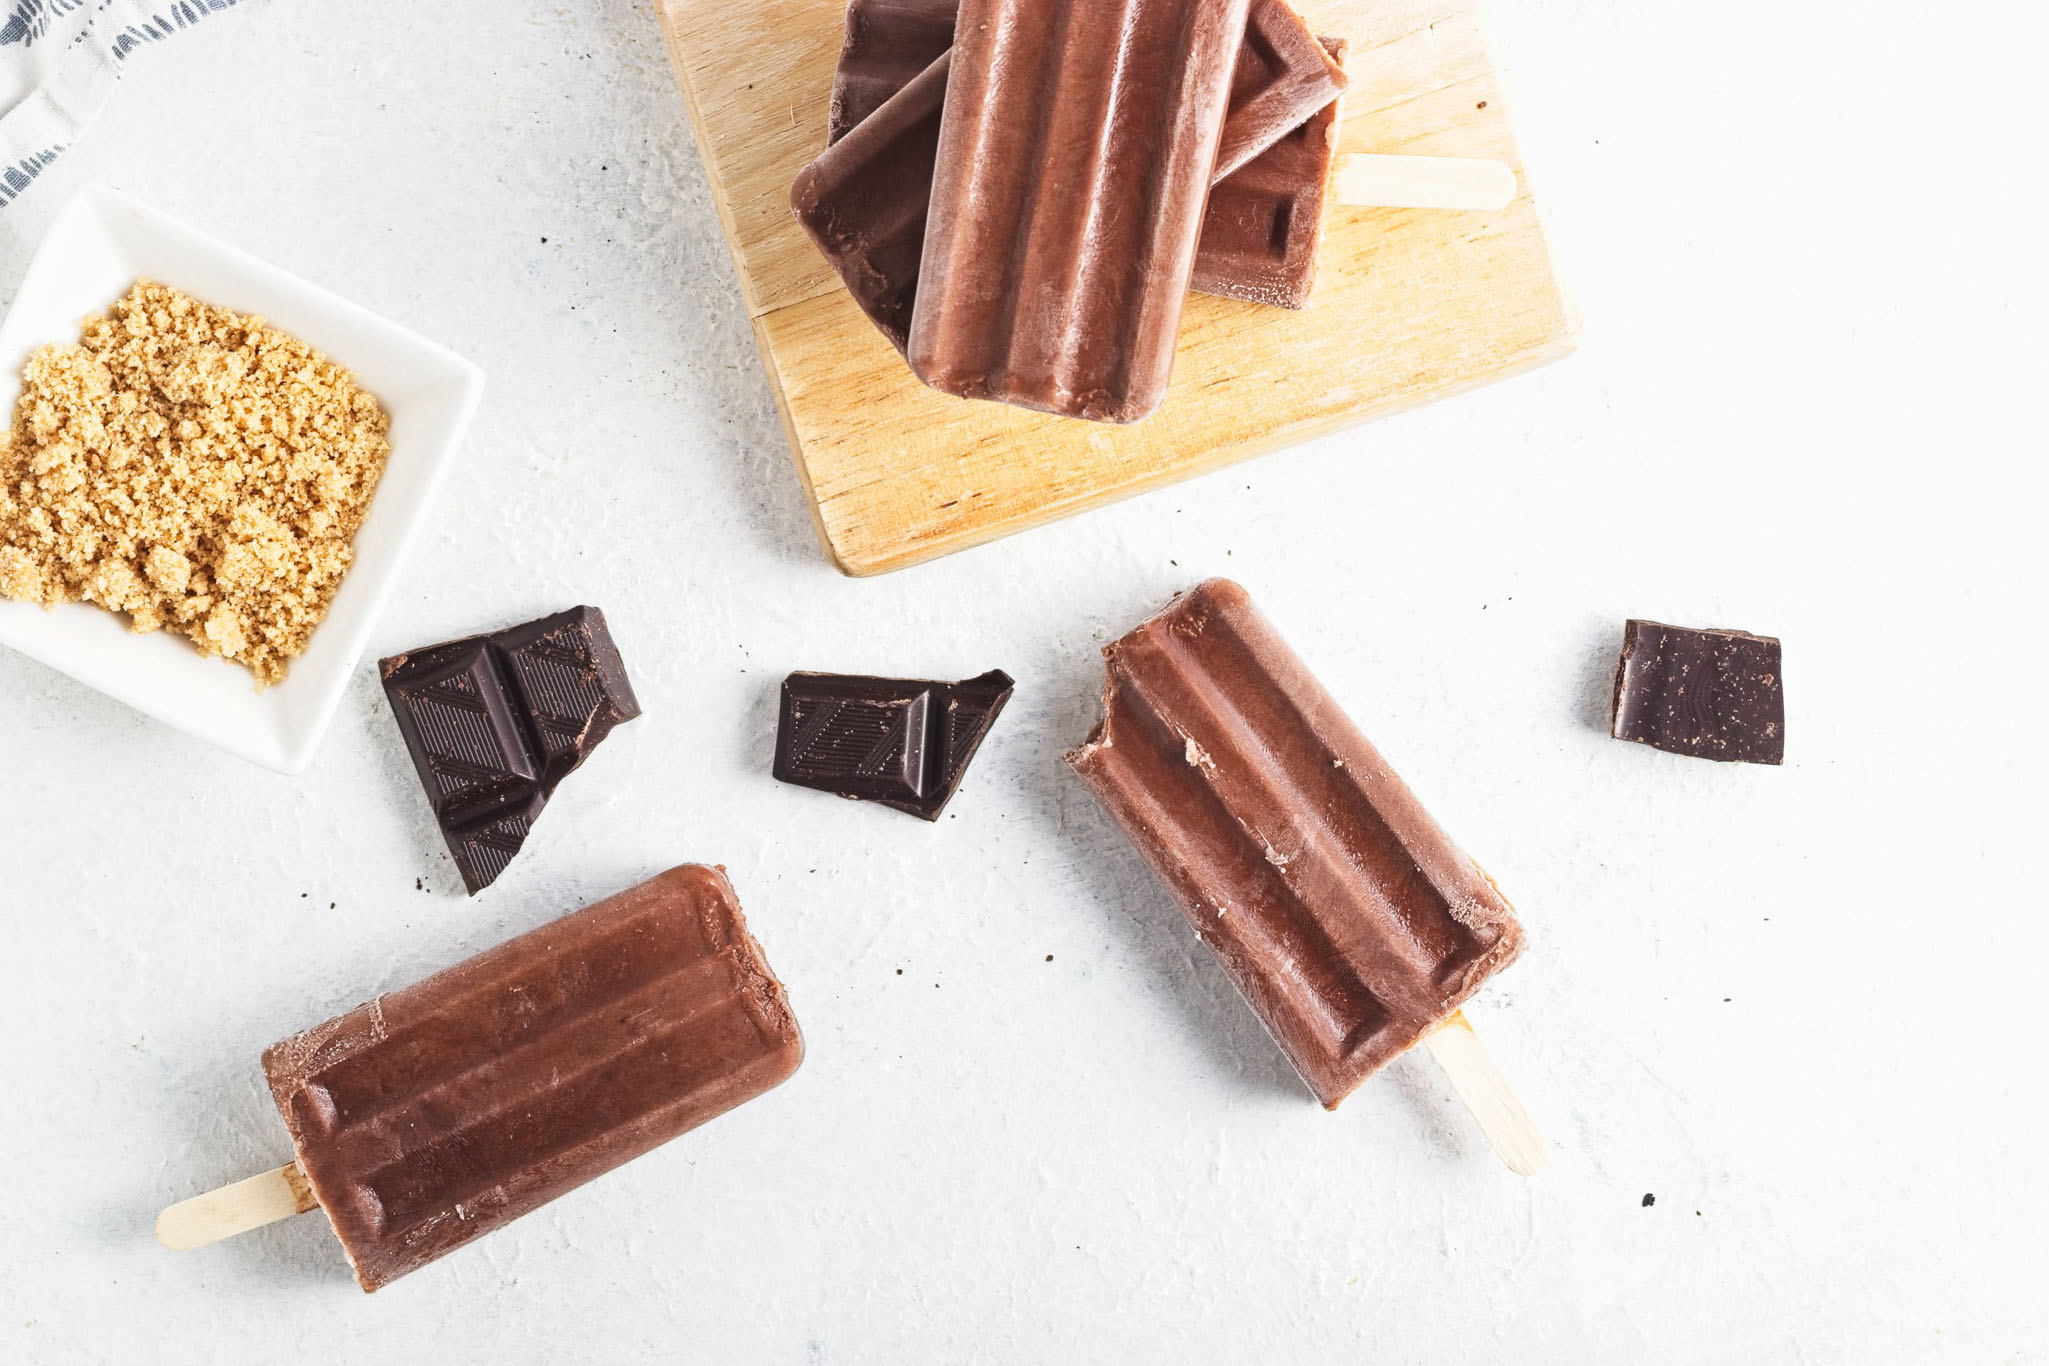
What Makes These Fudgesicles Special
Ultra-Creamy Texture: Thanks to full-fat coconut milk and a touch of cornstarch, these fudgesicles are smooth and luscious.
Deep Chocolate Flavor: Both cocoa powder and melted dark chocolate create an intense, rich chocolate taste.
Vegan and Allergy-Friendly: These are dairy-free, gluten-free, and soy-free, making them a great option for everyone.
Customizable: Add coffee liqueur for a boozy version or tweak the sweetness to suit your taste.
Perfect for Summer: These popsicles are an easy, no-bake treat that’s perfect for warm weather.
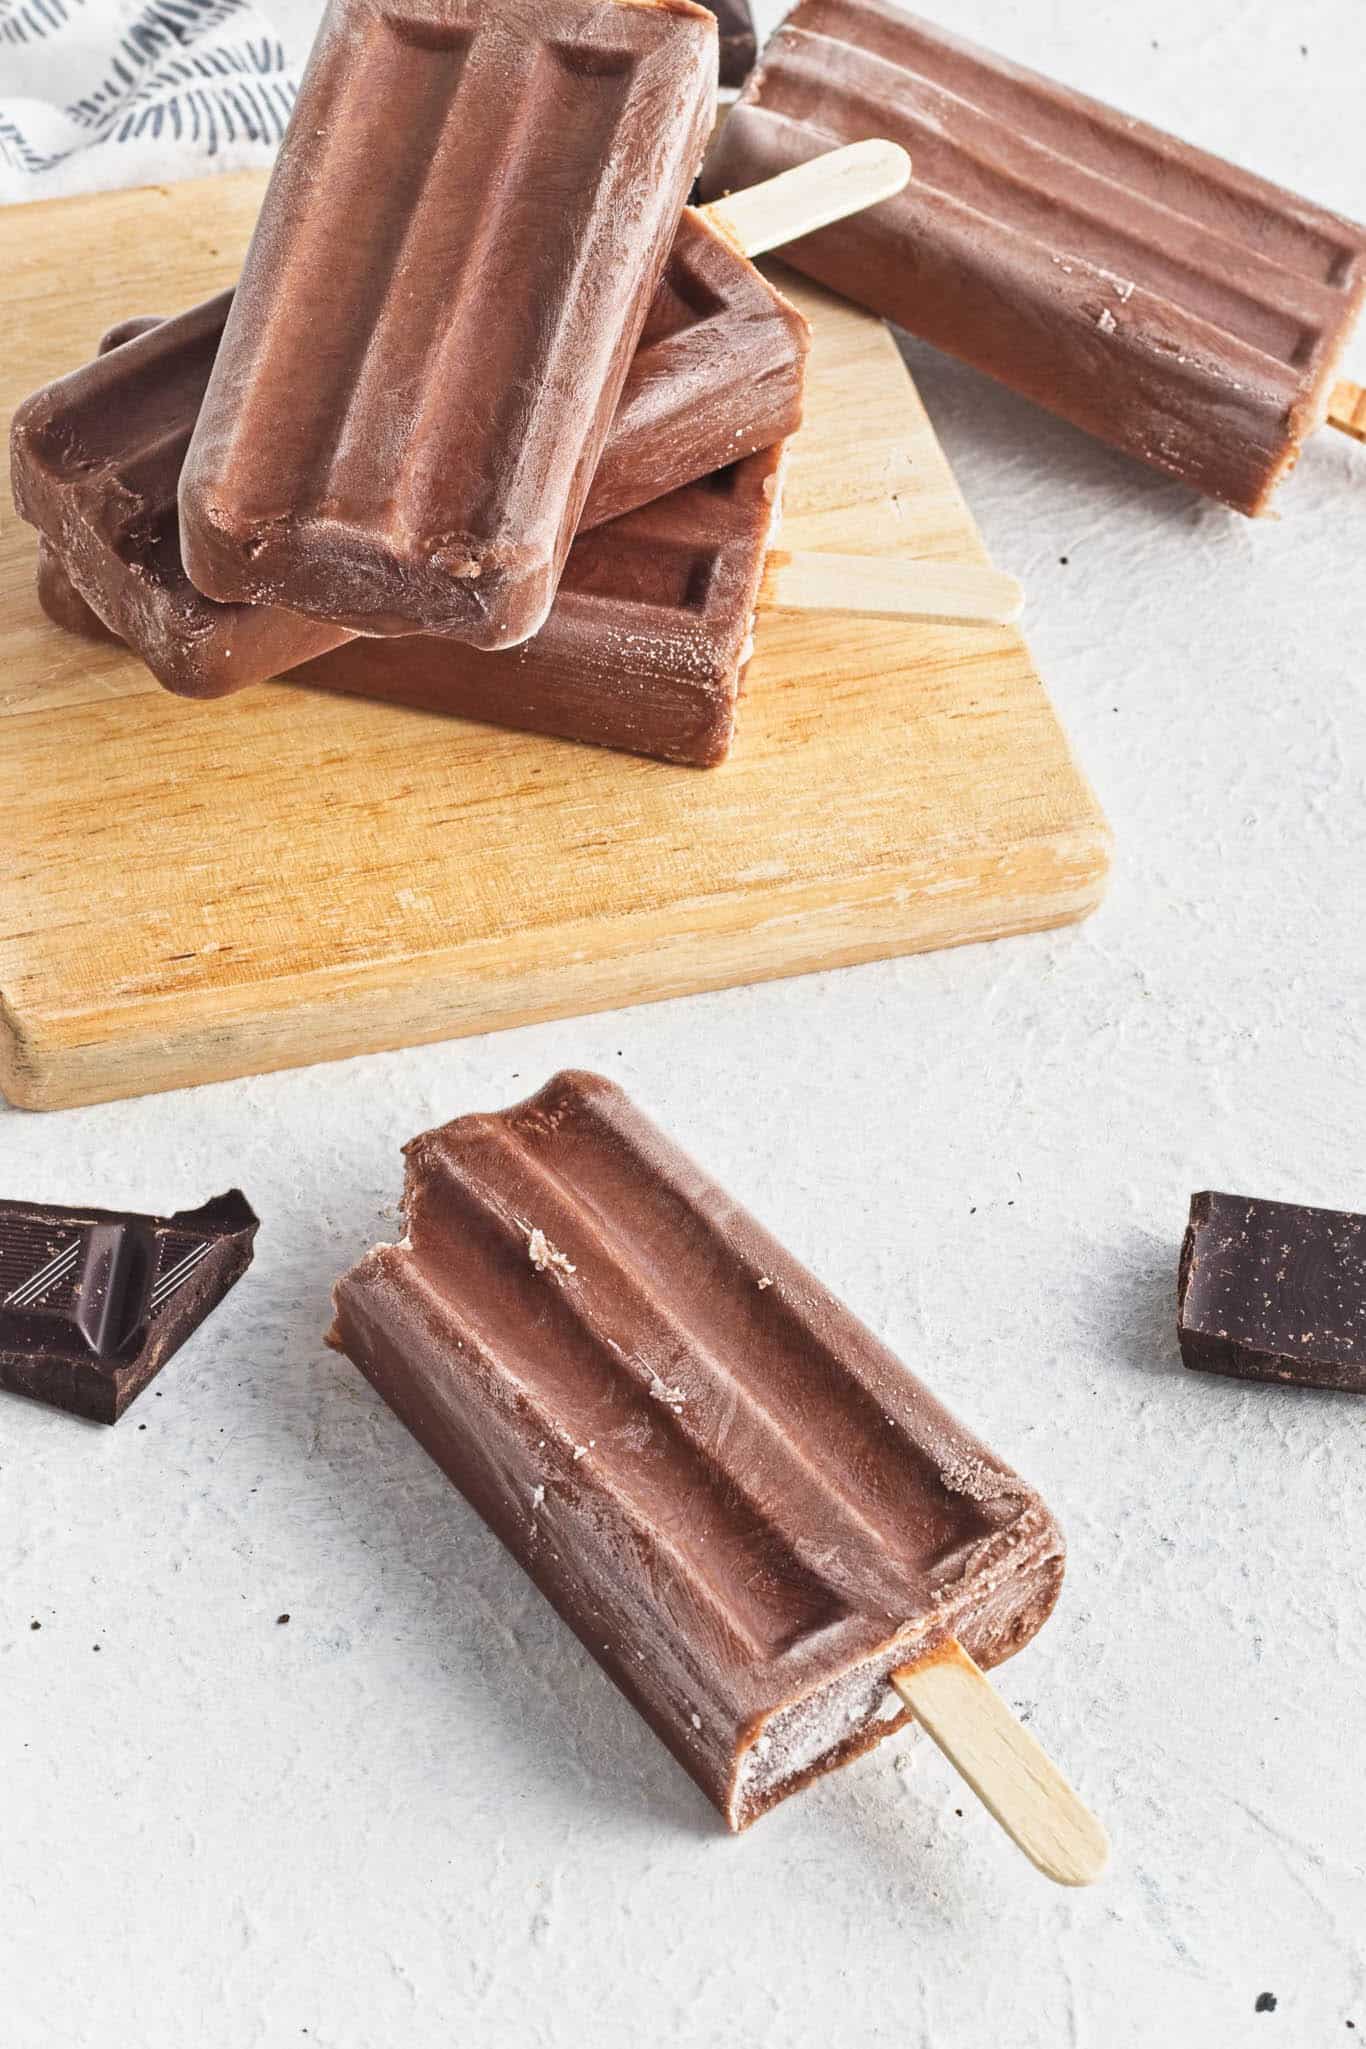
Helpful Tips
Popsicle Molds: I have used every type of popsicle mold imaginable, and I am convinced that these cheap molds are all you need.
Use Full-Fat Coconut Milk: For the creamiest fudgesicles, stick with full-fat coconut milk. Lower-fat options or other non-dairy milks will result in a more icy texture.
Don’t Skip the Cornstarch: A small amount of cornstarch ensures the mixture stays smooth and doesn’t separate during freezing. Arrowroot powder works as a great alternative.
Enhance the Chocolate Flavor: Coffee, vanilla, and a pinch of salt are added to deepen the chocolate taste. You won’t taste the coffee - it simply makes the chocolate shine.
Strain the Mixture: For the smoothest popsicles, strain the liquid before pouring it into molds to remove any lumps or bits of chocolate.
Freeze Completely: Let the fudgesicles freeze for at least 6 hours (or overnight) to ensure they’re firm enough to enjoy.
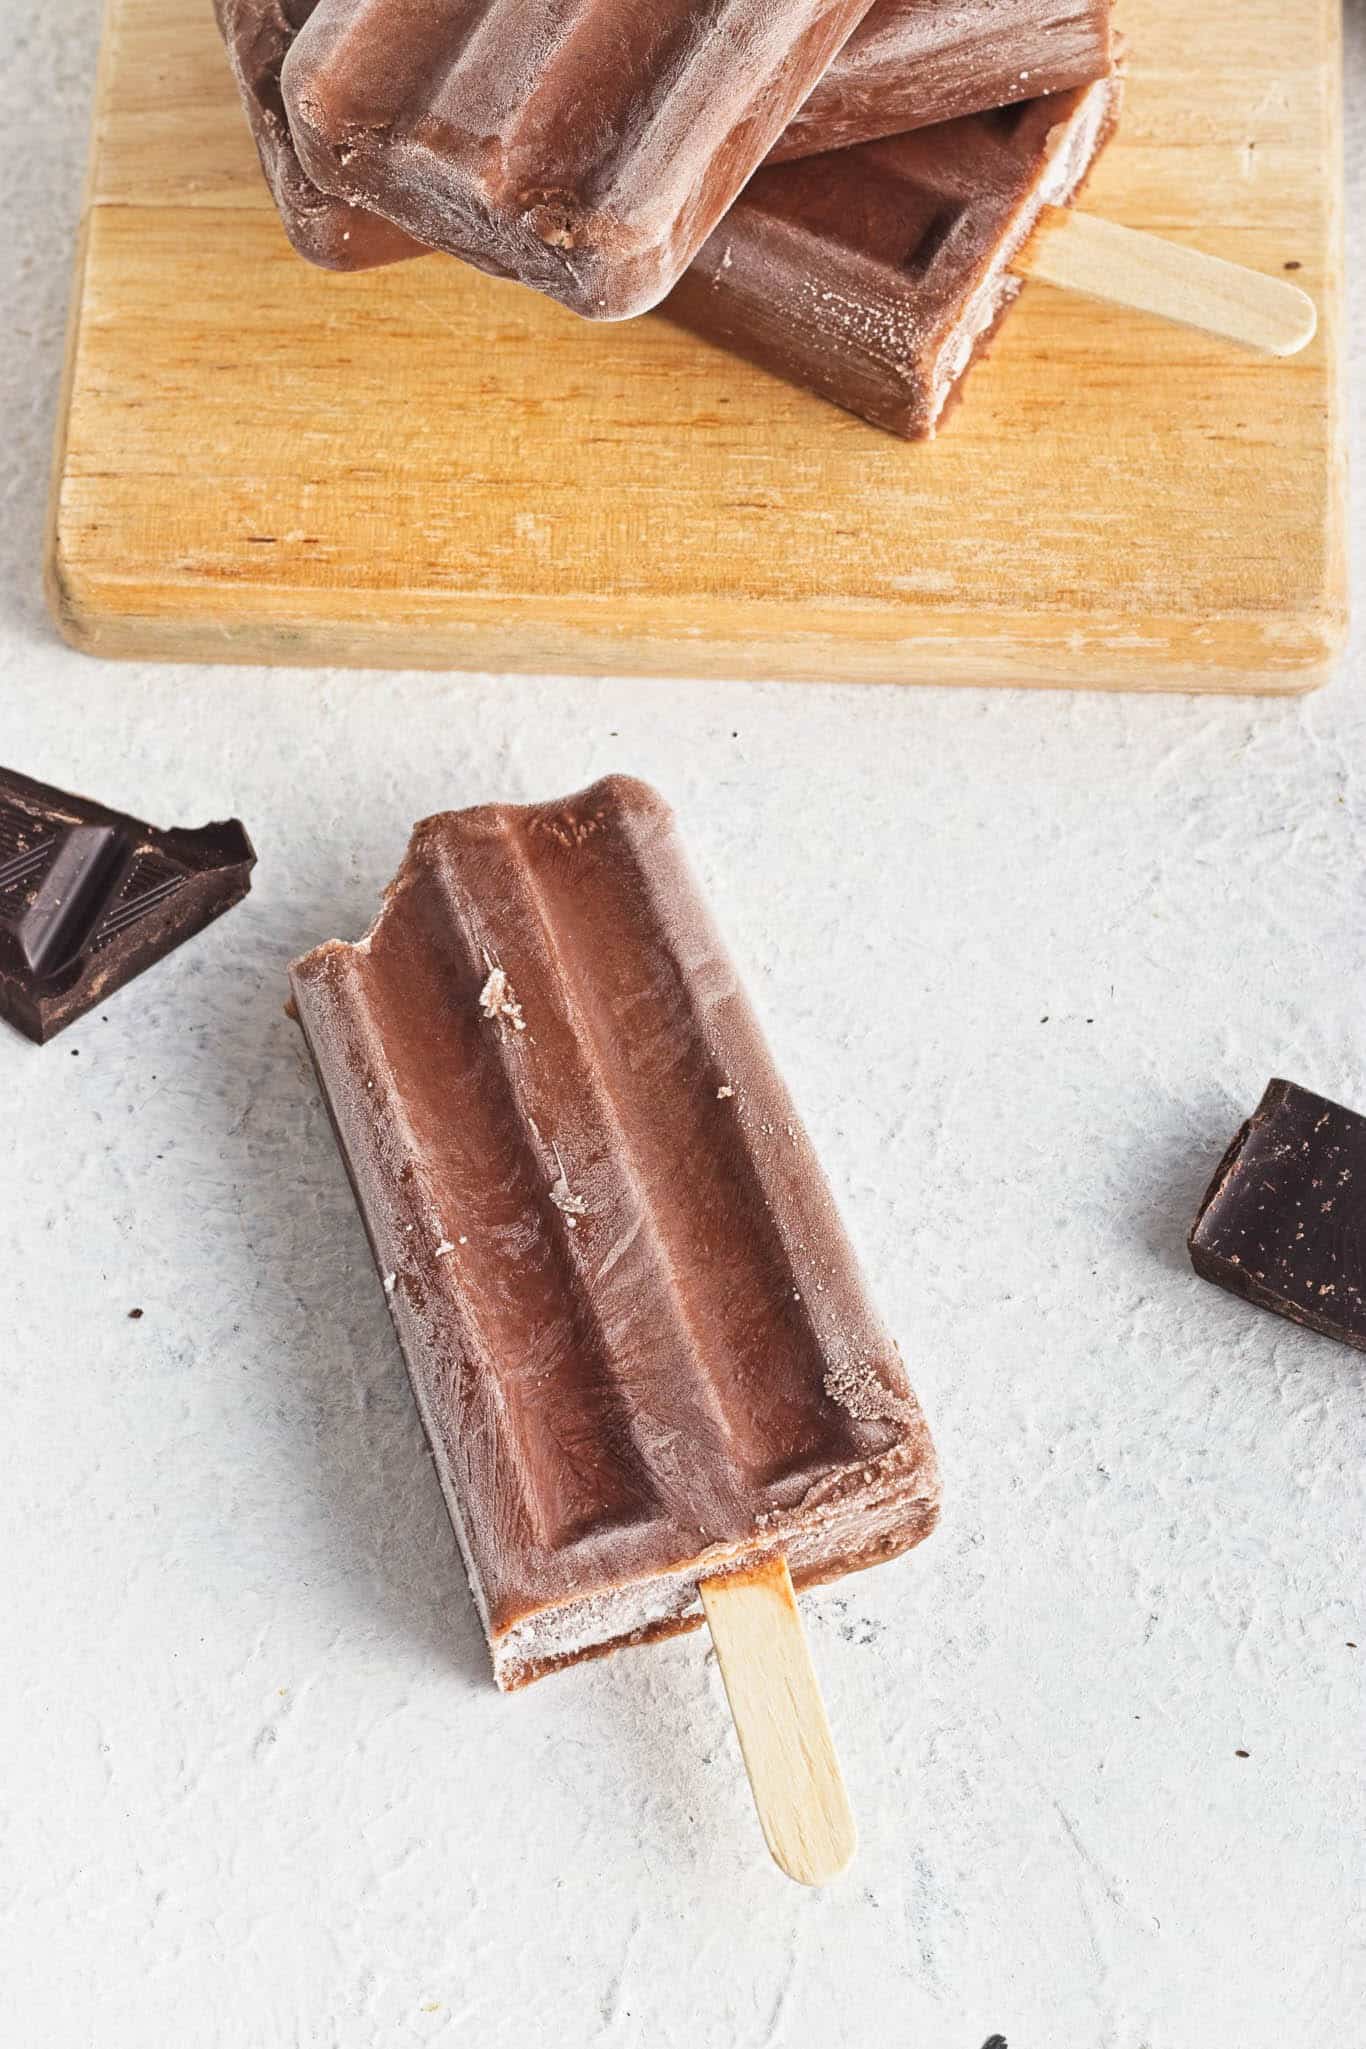
Storing & Serving
Once frozen, these fudgesicles can be stored in their molds or individually wrapped in plastic for up to one month, in the freezer. To easily remove them from the molds, run the bottoms under warm water for a few seconds.
Serve them as-is, or dress them up with a drizzle of melted chocolate or a sprinkle of chopped nuts!
Variations to Try
Boozy Fudgesicles: Replace the coffee with coffee liqueur for a grown-up twist.
Add Some Crunch: Stir in chopped nuts, coconut flakes, or even chocolate chips before pouring the mixture into molds.
Extra Sweetness: If you prefer sweeter treats, increase the brown sugar slightly.
Mint Chocolate: Add a few drops of peppermint extract for a refreshing minty flavor.
Espresso Kick: Use espresso instead of brewed coffee for an even richer flavor.
More Vegan Treats
If you love these vegan fudgesicles, be sure to check out these other plant based recipes:
- Vegan Cookies & Cream Popsicles
- Vegan Strawberry Mango Popsicles
- 8 Incredible Vegan Frozen Treats
- 25+ Best Vegan Recipes for Summer
Recipe
Vegan Fudgesicles
Ingredients
- 3 cups coconut milk full fat variety
- ¼ cup light brown sugar
- ¼ cup cocoa powder
- Salt just a pinch
- 1 tbsp cornstarch
- ¼ cup strong brewed coffee or substitute additional coconut milk
- 1 tbsp vanilla extract
- 4 oz dark chocolate chopped
Instructions
- Prepare the base: In a saucepan, heat the coconut milk and brown sugar over medium heat. Stir gently until the sugar dissolves and the mixture is just below a simmer. Avoid letting it boil.
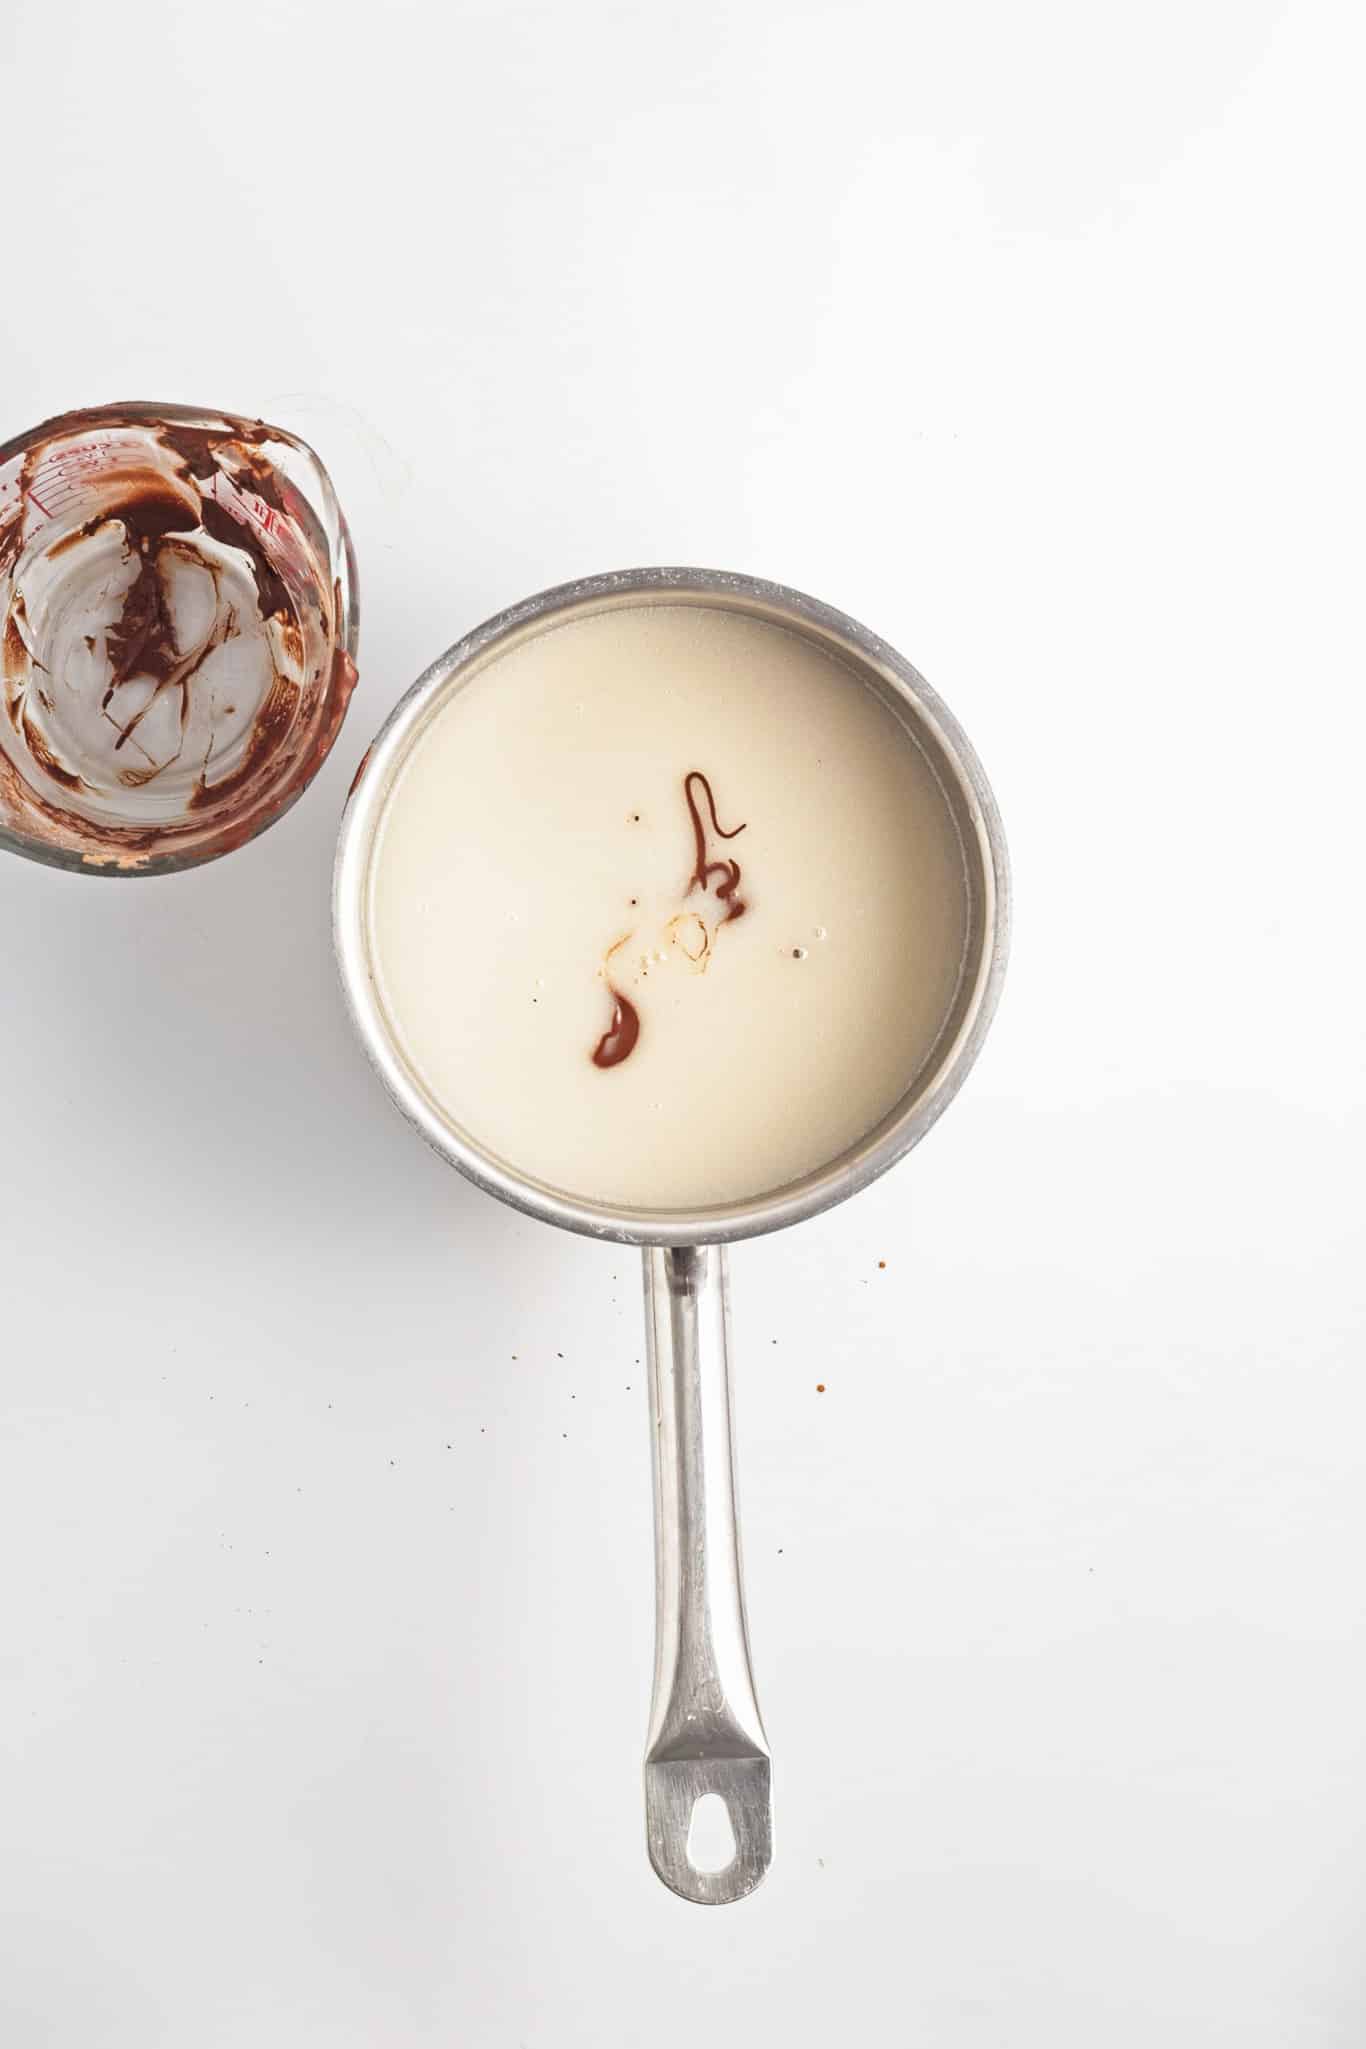
- Make the cocoa mixture: In a small bowl or spouted measuring cup, mix together the cocoa powder, cornstarch, and salt. Stir until evenly combined.
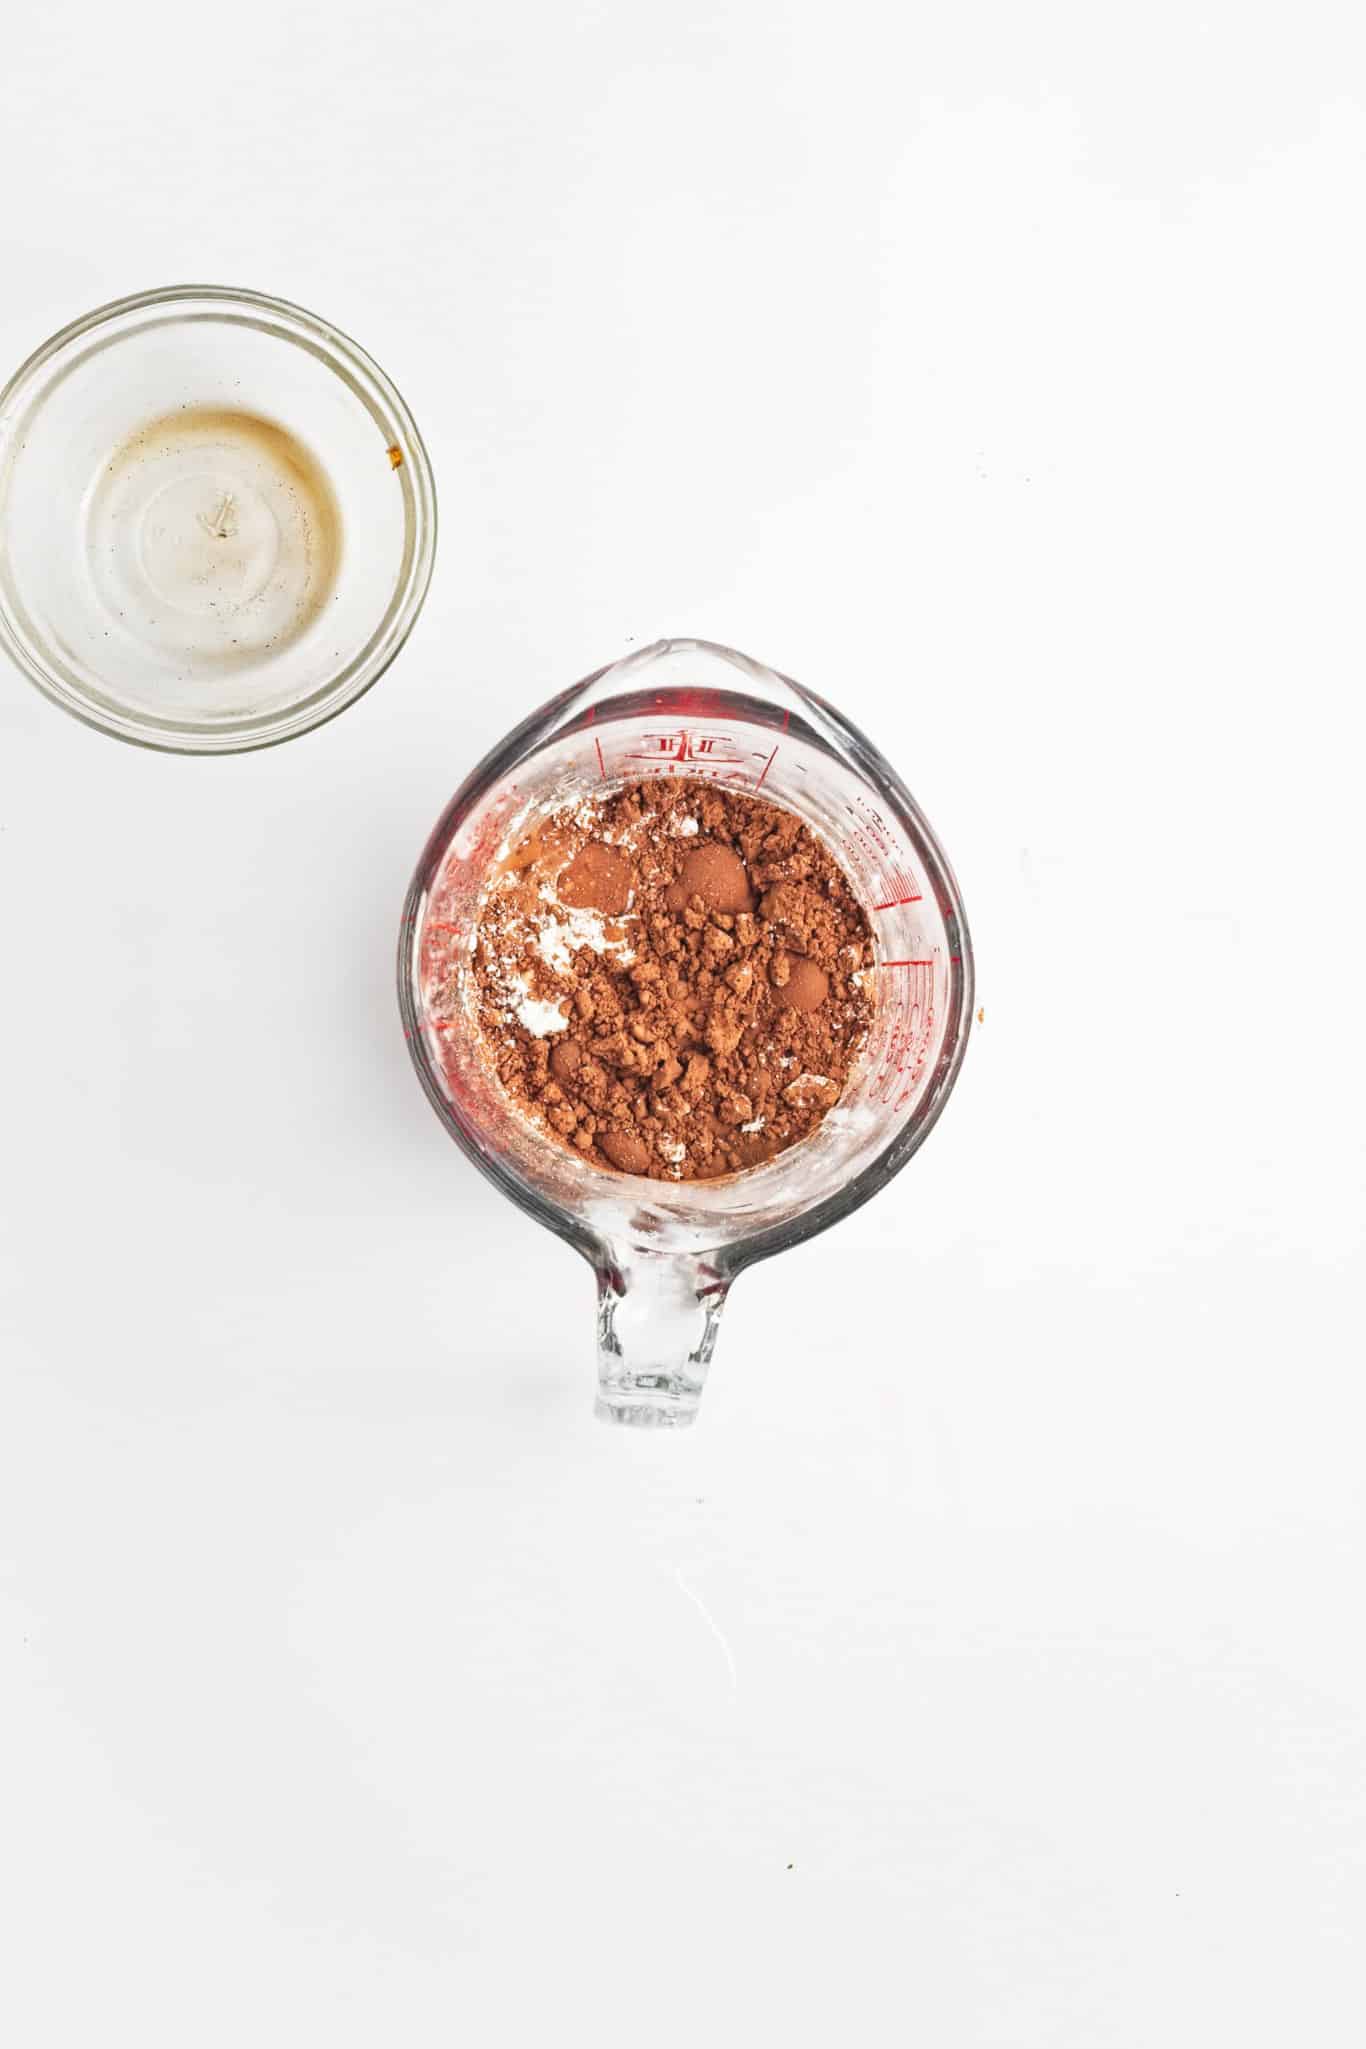
- Combine with coffee: Slowly stir in the coffee* to form a smooth paste.
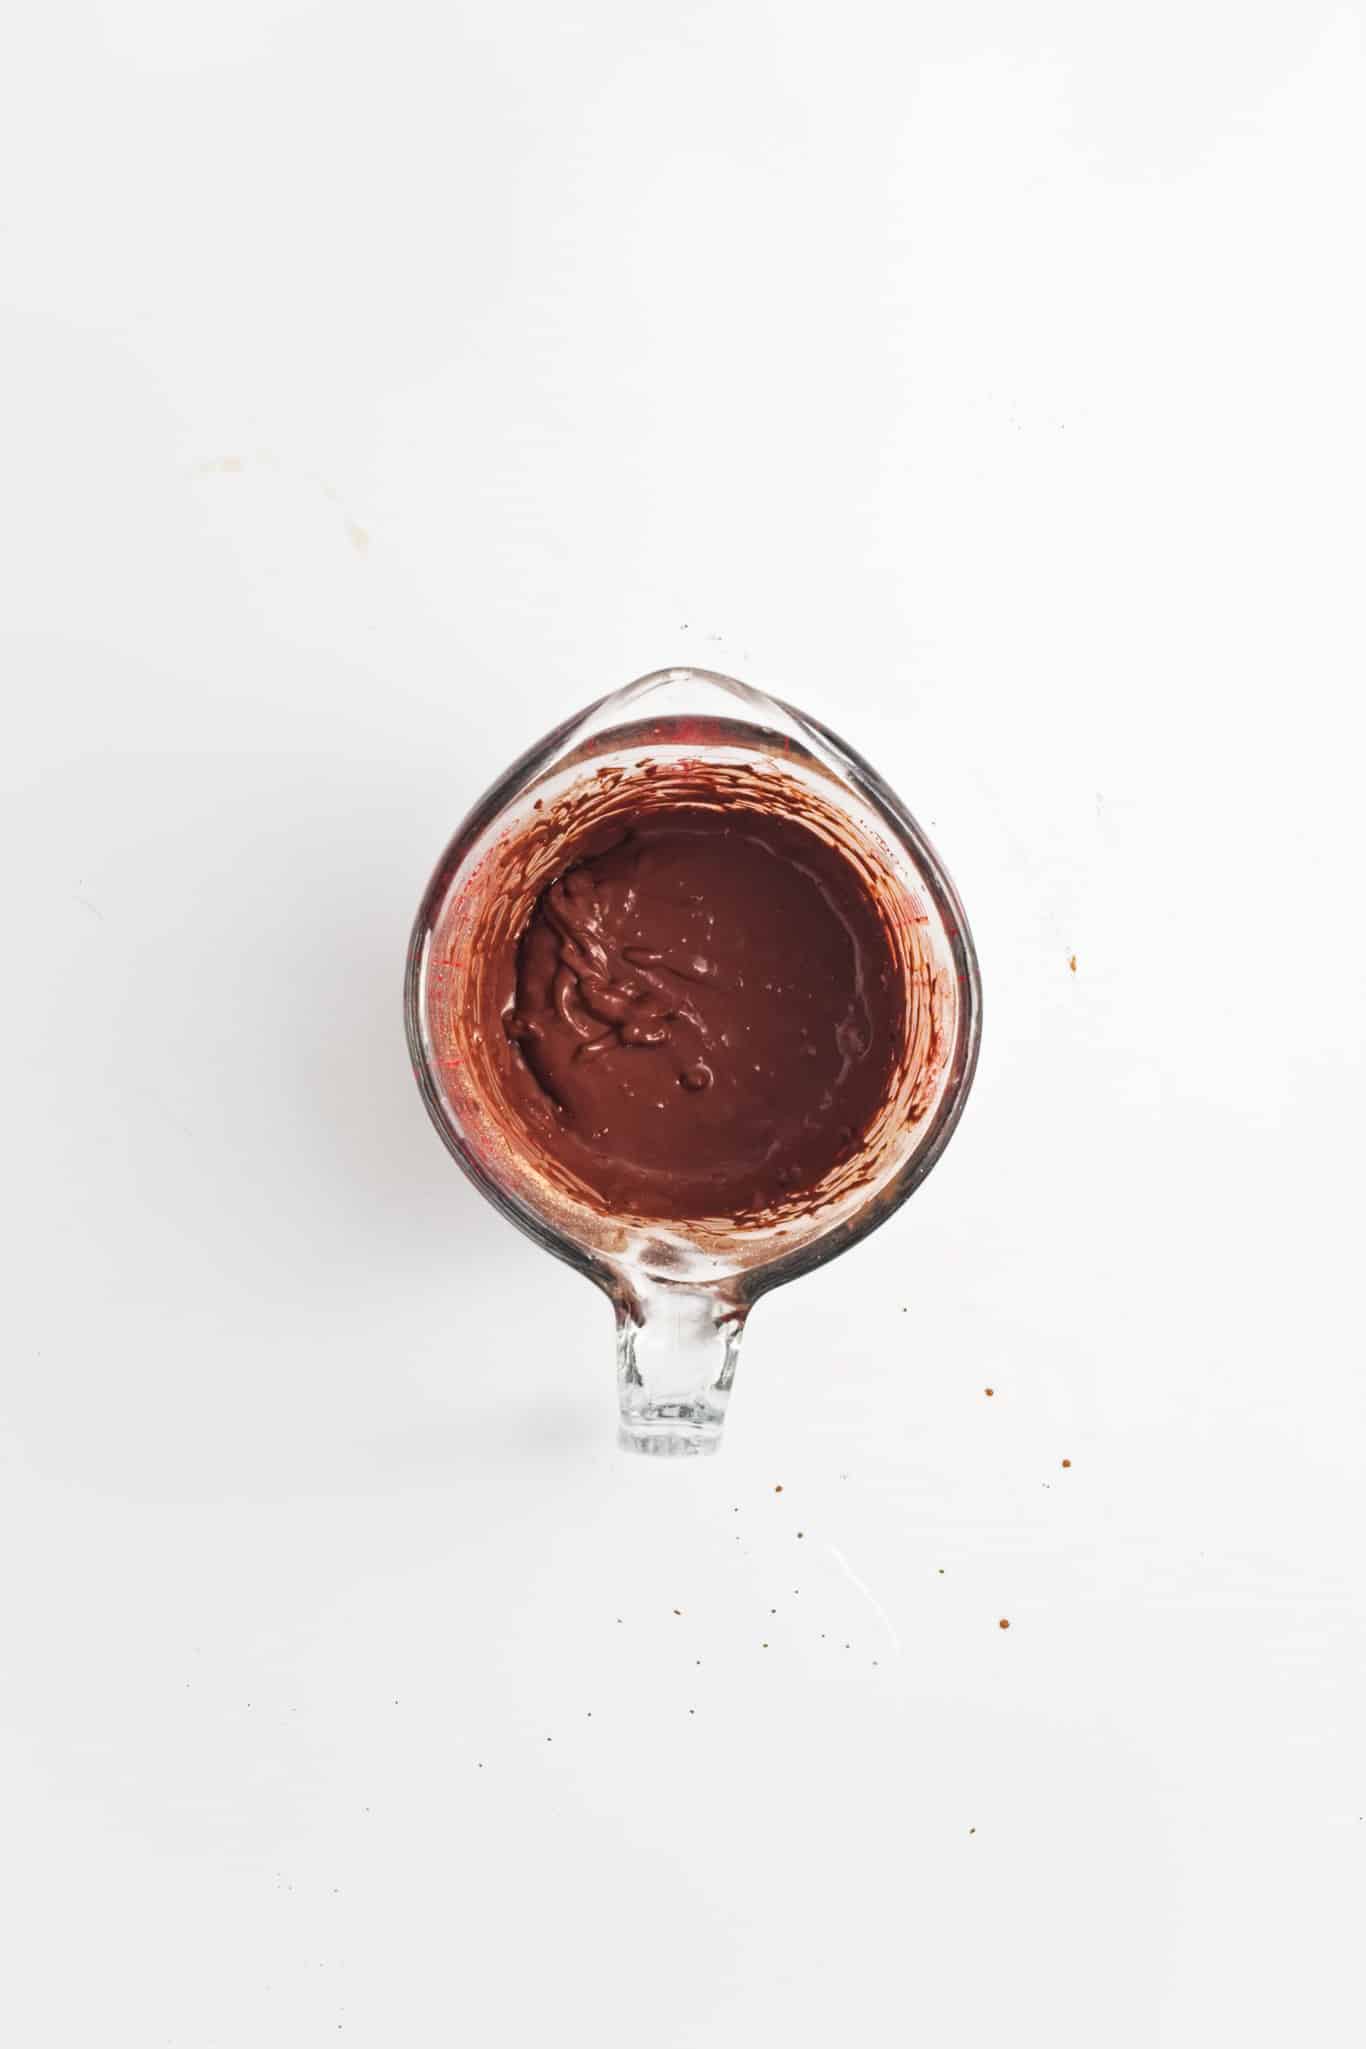
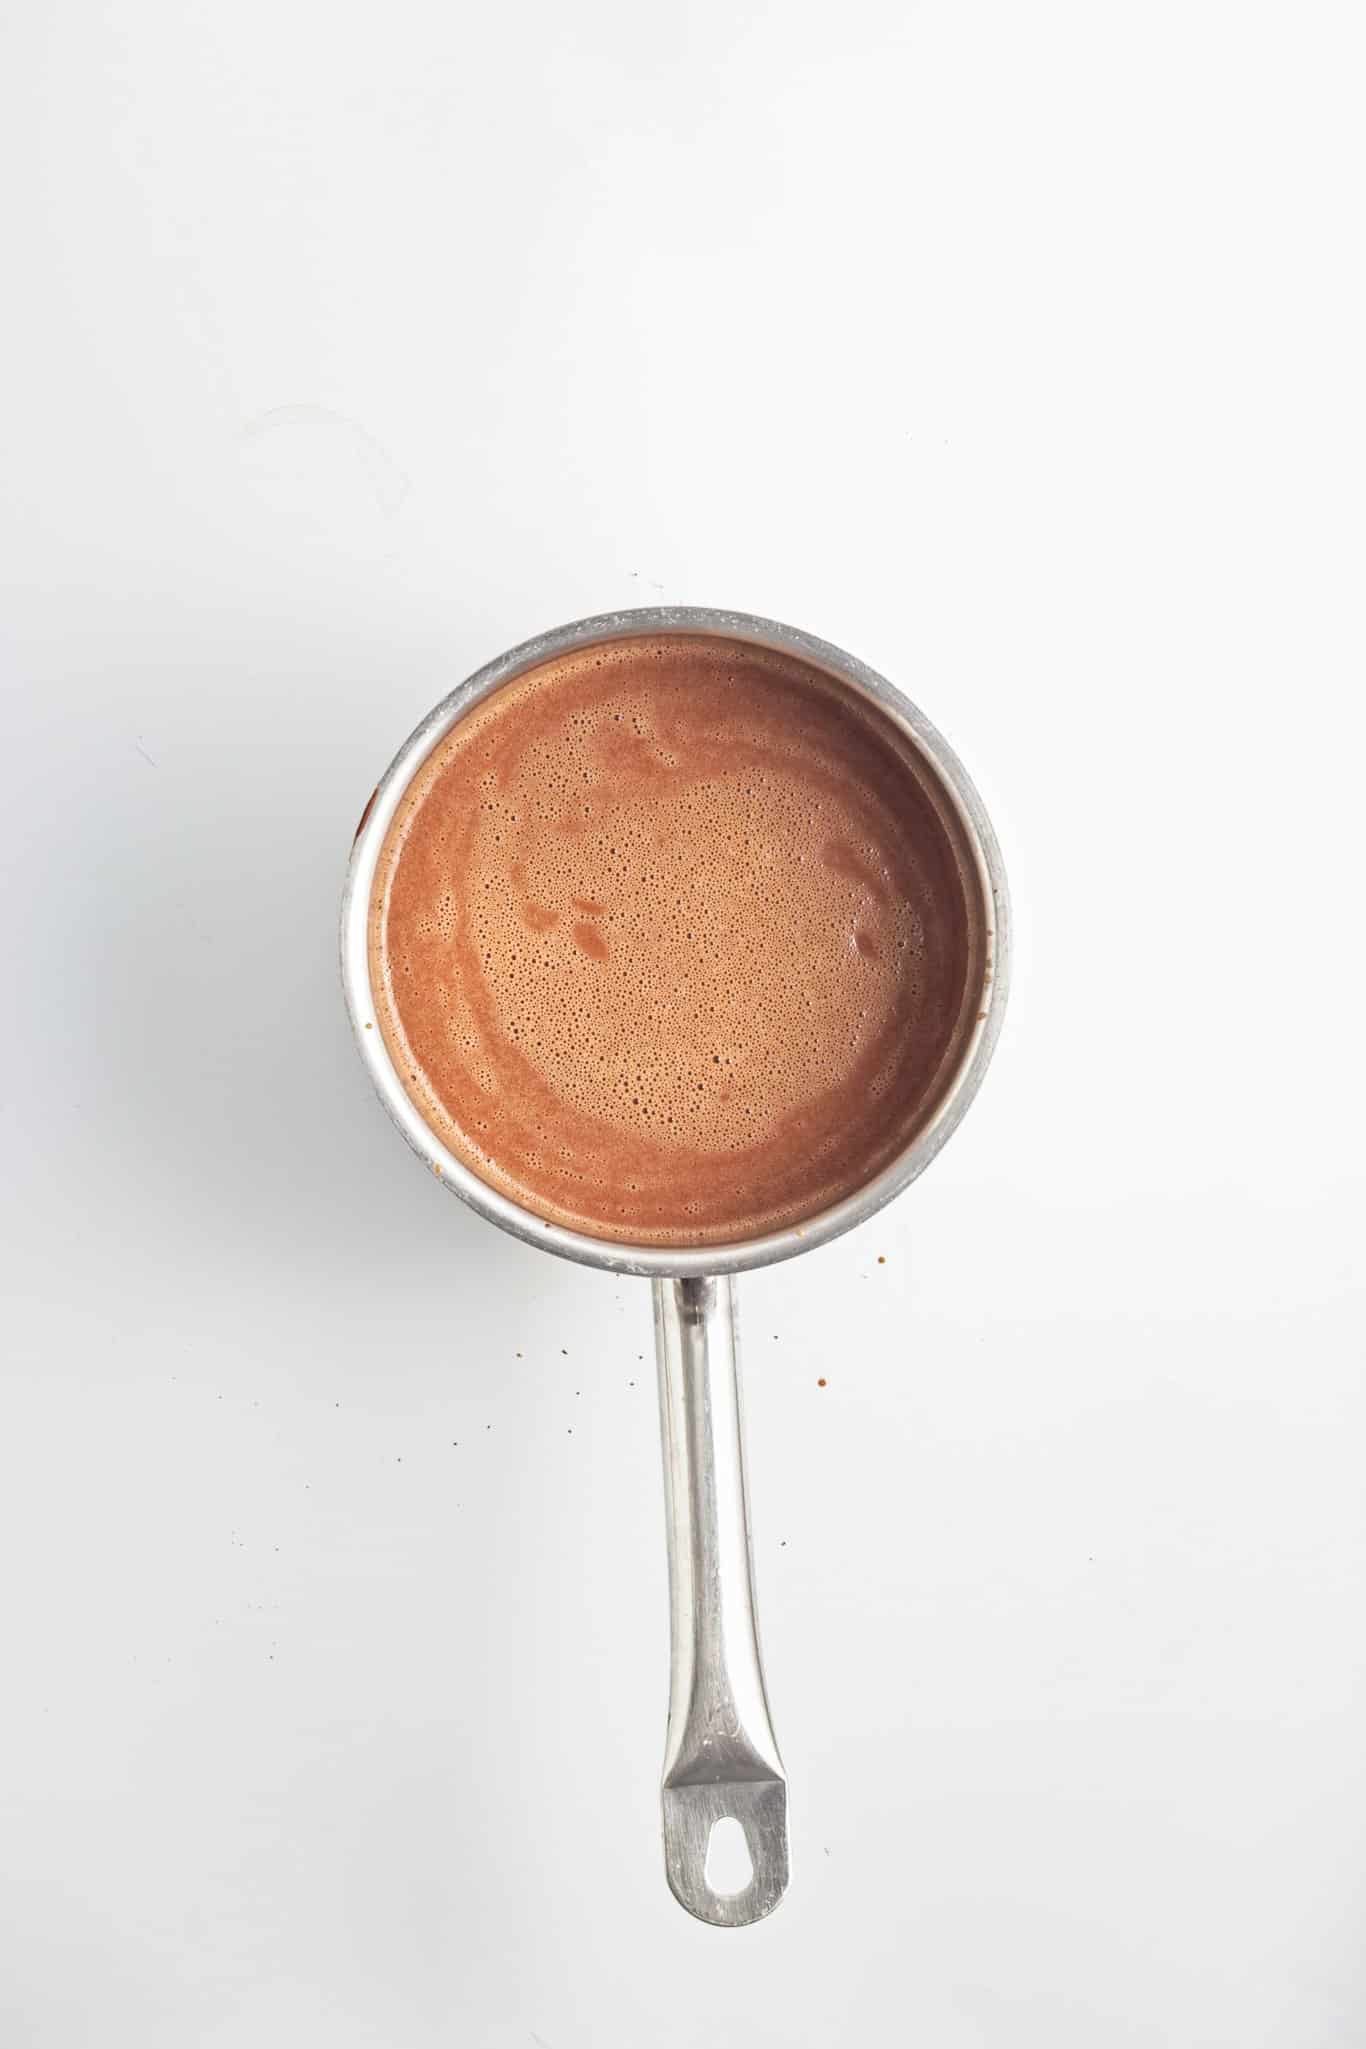
- Gradually whisk this paste into the warm coconut milk mixture until fully blended. Lower the heat to maintain a gentle warmth.
- Melt the chocolate: Add the finely chopped chocolate and vanilla extract to the saucepan. Whisk until the chocolate is completely melted and the mixture becomes smooth and glossy. Continue stirring constantly as it cooks, allowing it to thicken slightly. Remove from heat.
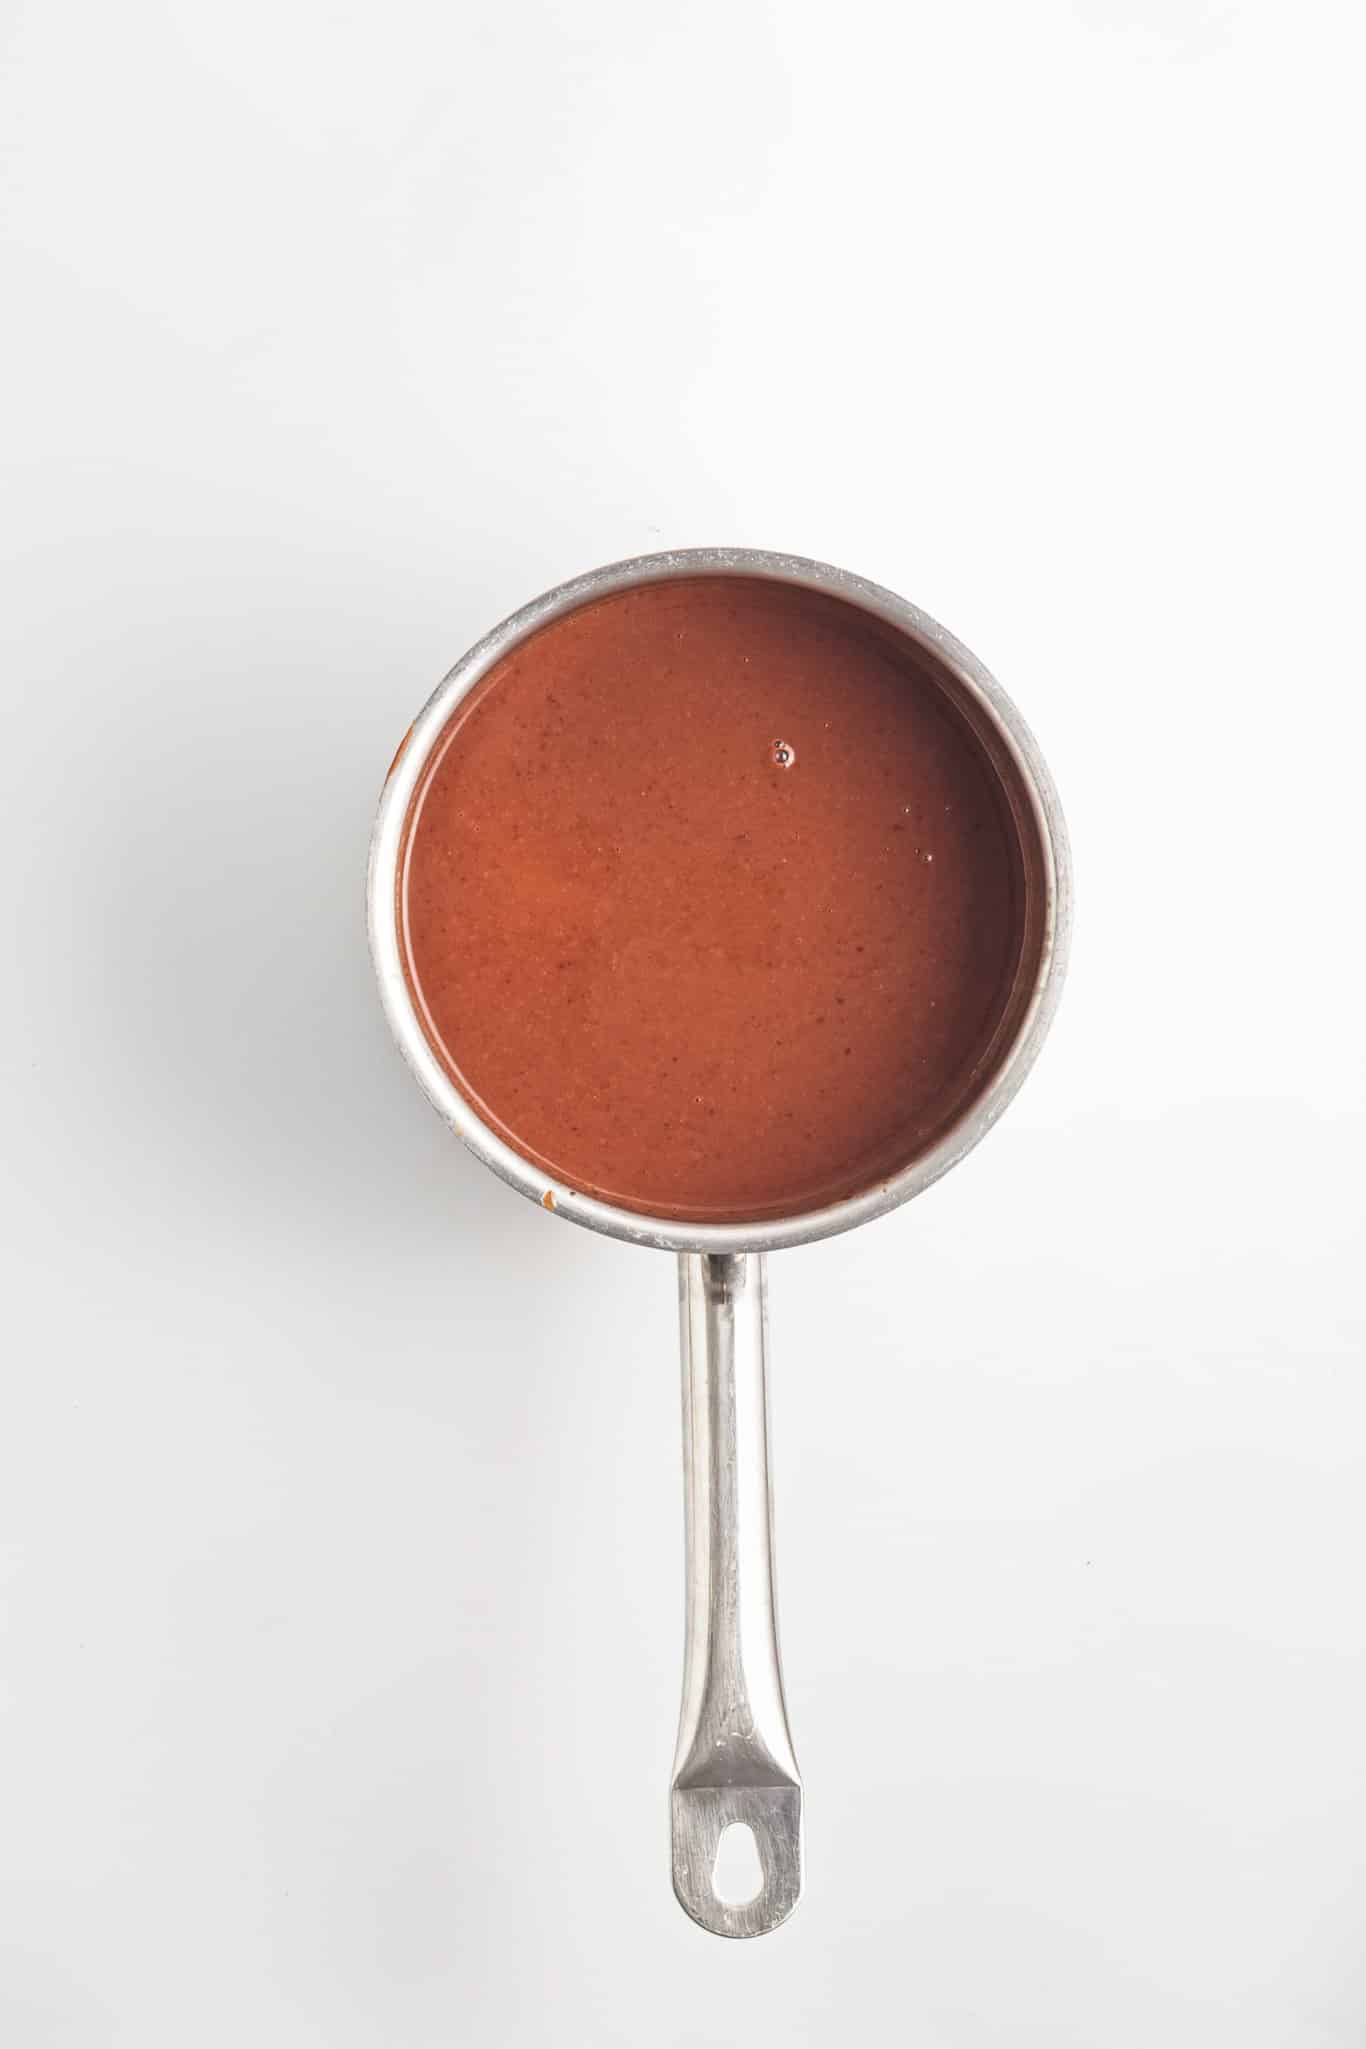
- Fill the molds: Pour the mixture into popsicle molds. For an ultra-smooth result, strain the liquid through a fine-mesh sieve before filling.
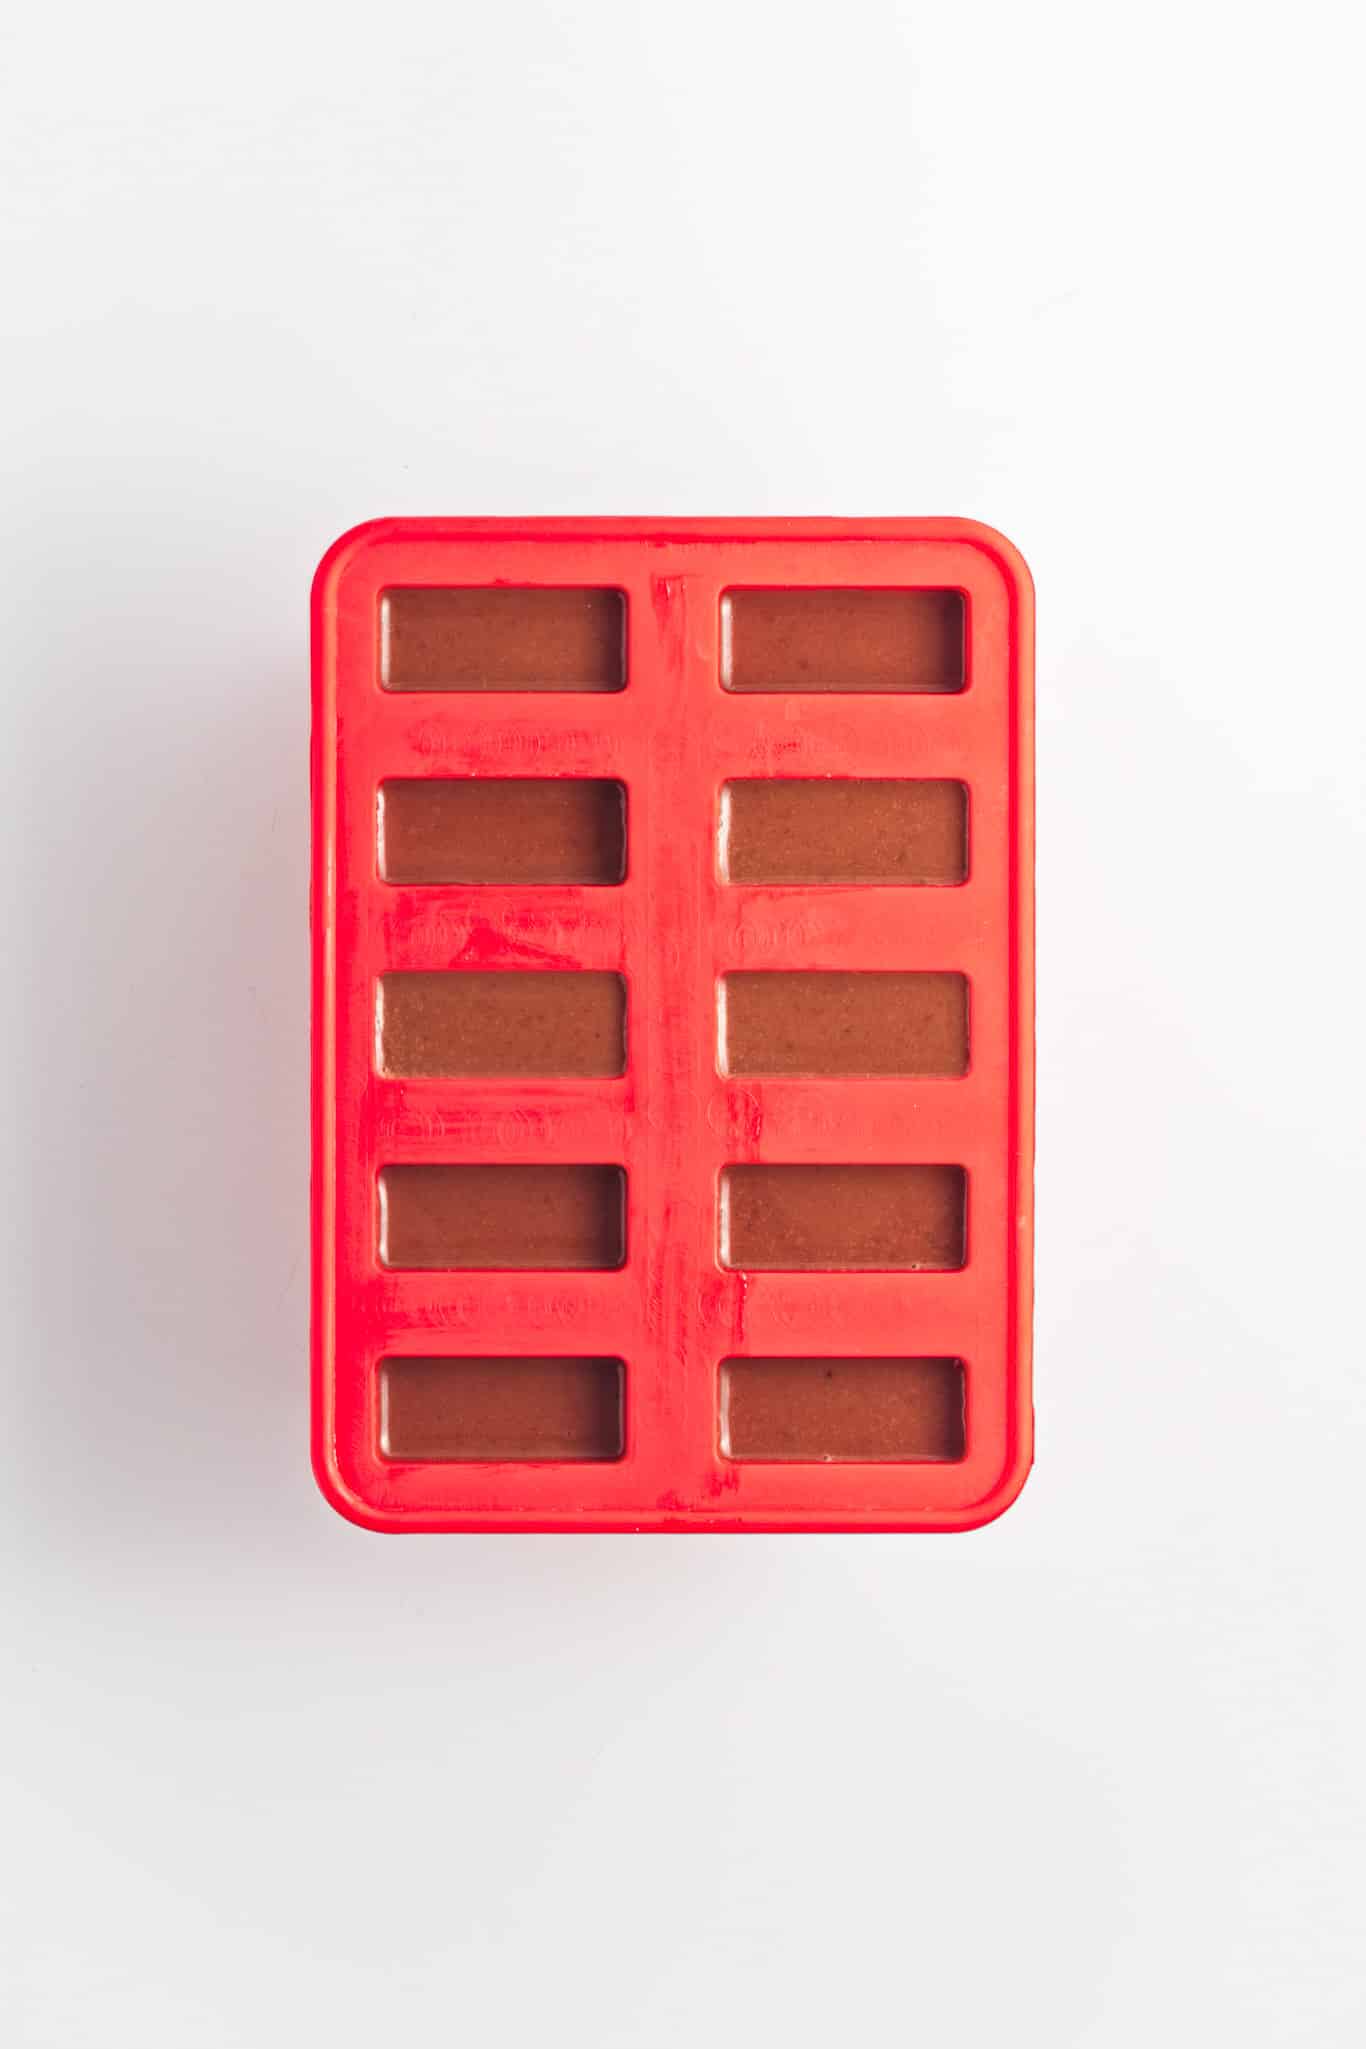
- Add the sticks: If your molds have a lid, secure it before inserting the popsicle sticks, leaving about 1 inch of the stick exposed. If there’s no lid, cover the molds tightly with plastic wrap or aluminum foil to keep the sticks in place.
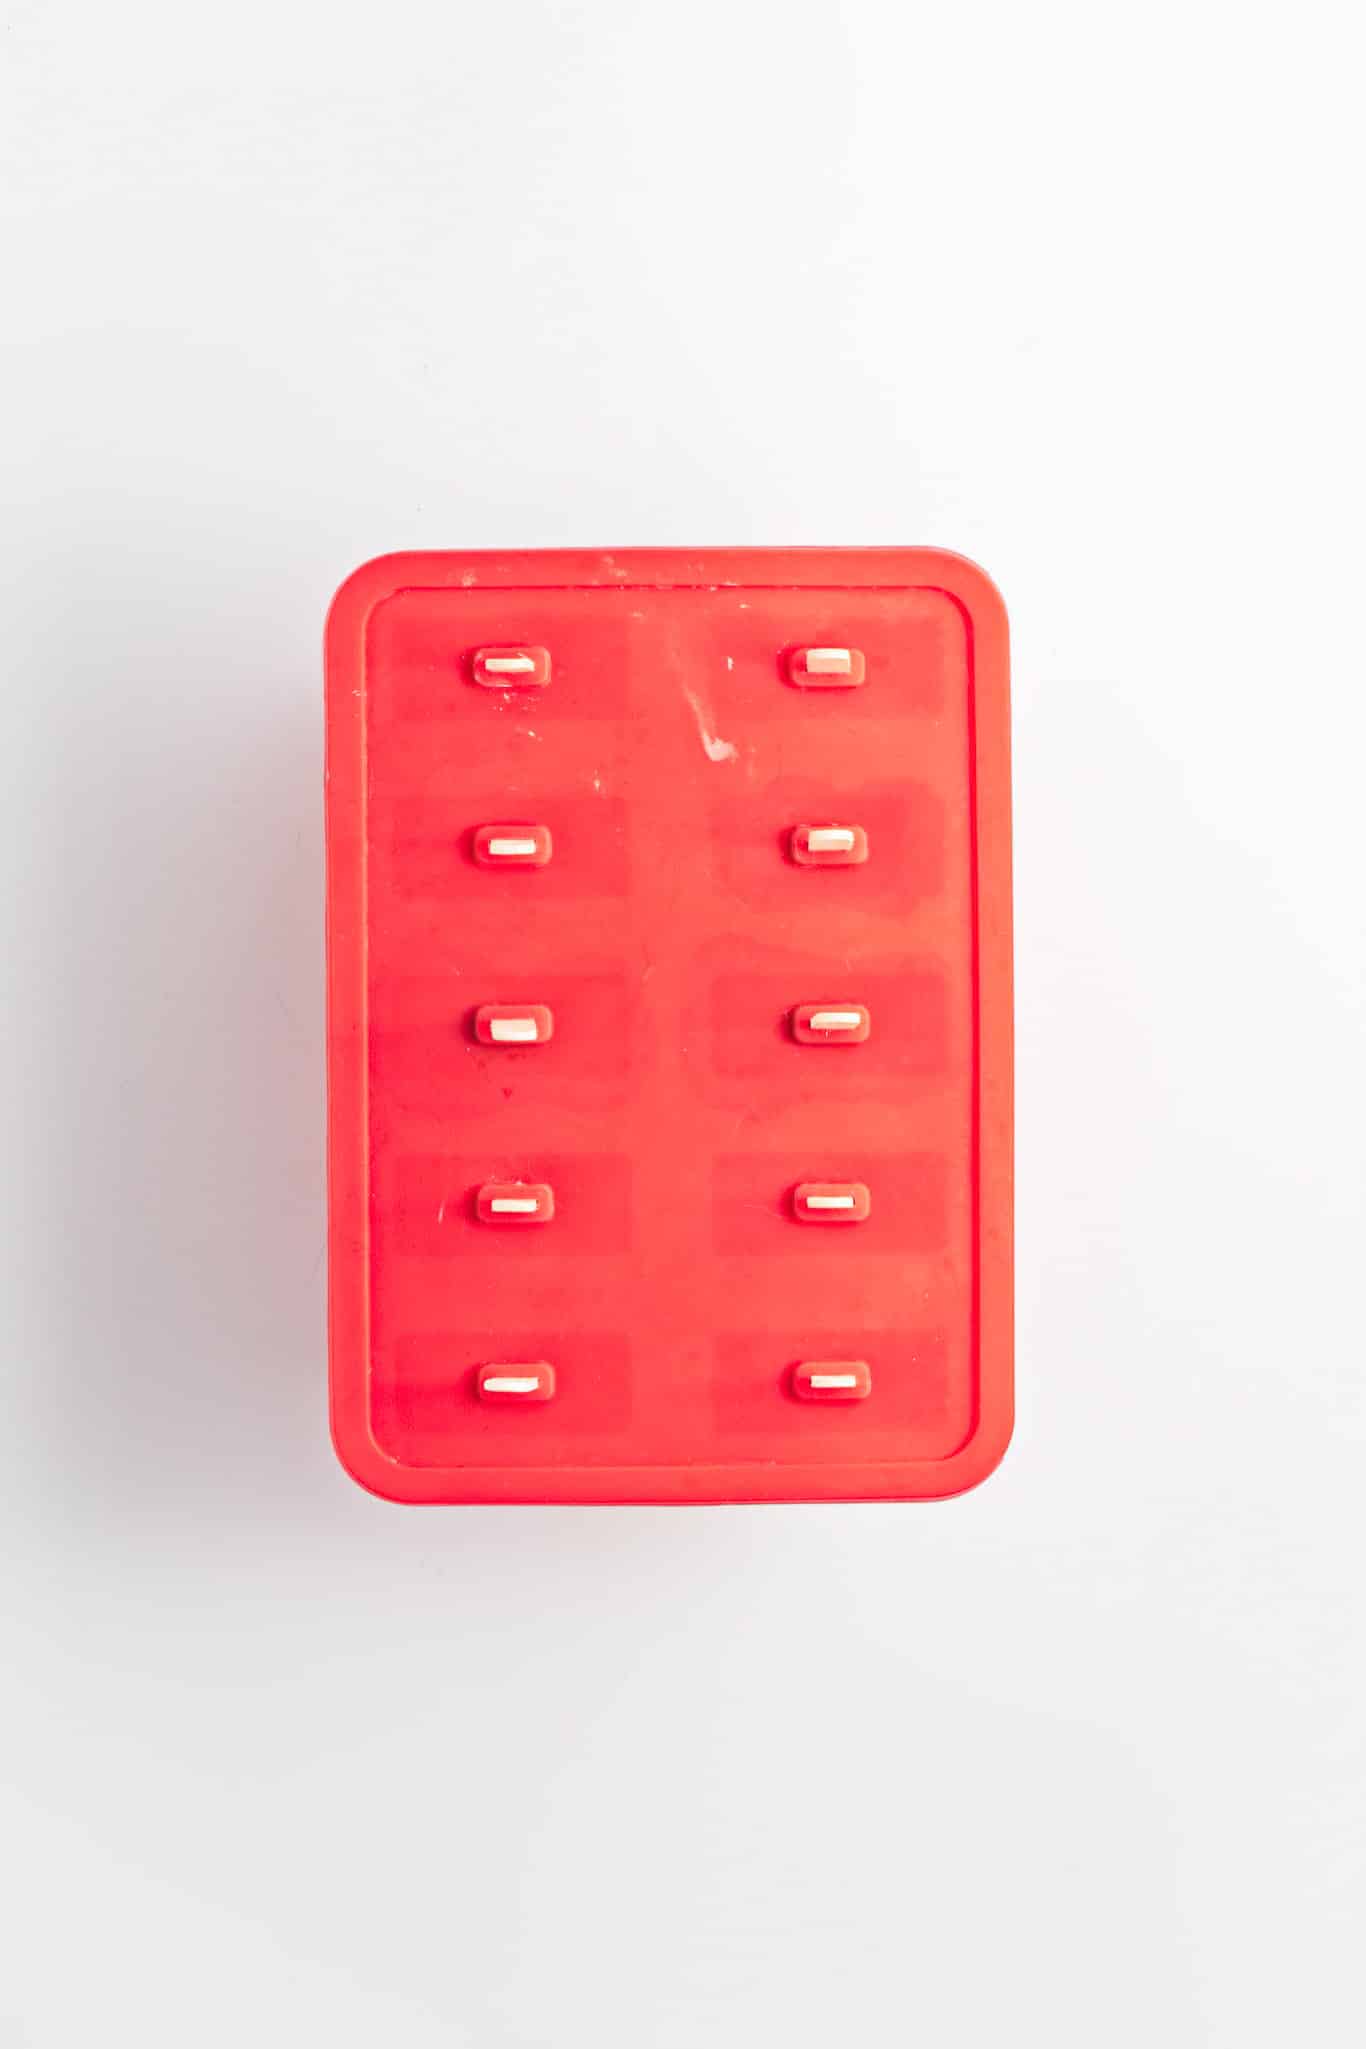
- Freeze: Place the molds in the freezer and let them set for at least 6 hours, or until fully frozen.
- Serve: Carefully remove the fudgesicles from the molds. If using a metal or plastic mold, it can help to dip the tips in hot water for 10 seconds and then remove.

- Store: Keep the popsicles frozen in plastic bags or tightly wrapped in plastic for up to 1 month.
Notes
- Taste/Texture: These fudgesicles are intensely chocolatey with both cocoa powder and melted dark chocolate and you can’t tell they are vegan. They are perfect for a cool dessert or snack with limited sugar but a big punch of flavour. The addition of vanilla and coffee help balance out the coconut milk for a treat that is smooth and creamy but not tropical. You can even add coffee liqueur for a slightly boozy version.
- Coffee: Coffee is a flavor enhancer for chocolate, creating a richness to it to balance out the flavor of coconut milk. This is also why vanilla and salt are added – they will help boost the chocolate flavor rather than detract from it. For a slightly boozy popsicle, add coffee liqueur in place of the coffee after the mixture has been removed from the heat.
- Full fat coconut milk: For the creamiest fudgesicles, use full fat coconut milk because it will help prevent forming ice crystals in the mixture. Low-fat coconut milk or other non-dairy milks will create icier popsicles.
- Cornstarch: Using a small amount of cornstarch helps suspend the fat evenly throughout the mixture so that the popsicle doesn’t separate during freezing. For a corn free version, use arrowroot powder.


Comments
No Comments